Braving tough outdoor environments to capture great images can be daunting. David Cleland’s guide has some great tips to help you get it right.
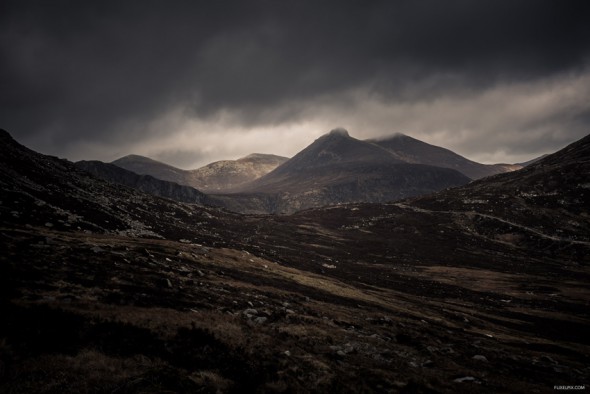
The aim of every avid hillwalker is to get out into the great outdoors while travelling as light as possible. Initially, the concept of traveling light was often in contradiction to my photography mindset; I really wanted to have a range of lenses, bodies and filters plus a good, sturdy tripod at my disposal when out on the hills.
Over the years I’ve whittled the amount of equipment I carry down to the absolute minimum when venturing out in the mountains. I think there is an education that comes with experience; travelling with a camera body and three lenses may be attractive but, even with weather-sealed equipment, changing lenses on a windy wet summit is far from a positive experience.
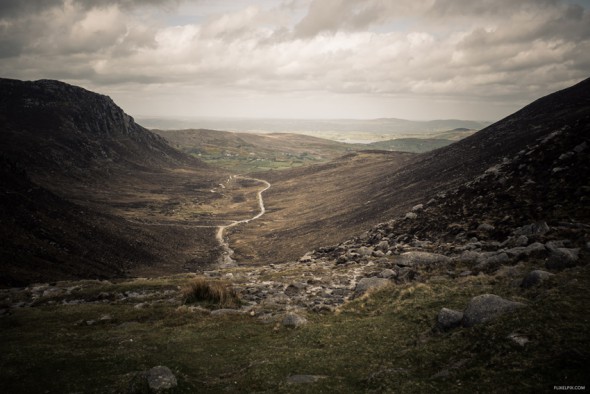
My Current Outdoor Gear
For day walks I tend to pack one main camera body, usually the brilliant Fujifilm X-T1 and both the 14mmand 10-24mm lenses with two spare batteries. I usually pack the second lens and extra batteries for a ‘just in case’ situation rather than necessity.
In addition to the Fujifilm X-T1 I pack my trusty Fujifilm X100T that generally hangs around my neck in its little Fujifilm leather case throughout the day. The X100T is my go-to camera to document the day while the X-T1 will be used in tandem with a tripod to capture the landscapes.
Speaking of tripods, if it’s a short hike, the brilliant Brian tripod from 3 Legged Thing will come with me. But for longer, full-day or steep climbs I will pack a Manfrotto Befree travel tripod. I bought the Befree just before the company released the carbon-fibre version, which I am sure is even lighter.
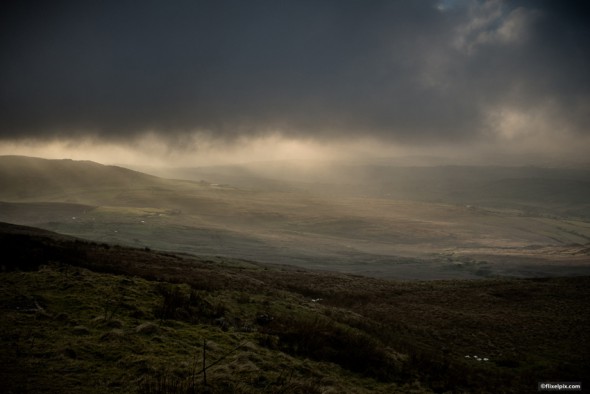
Filters-wise, I pack my Lee Seven5 filters, generally the ND6 Grad (soft) and ND9 (hard) with the holder and adaptor rings for both the X100T and the X-T1 lenses. Finally, I pack a lens-cleaning cloth in case the front of the filter (or lens) gets wet during the walk.
Composition
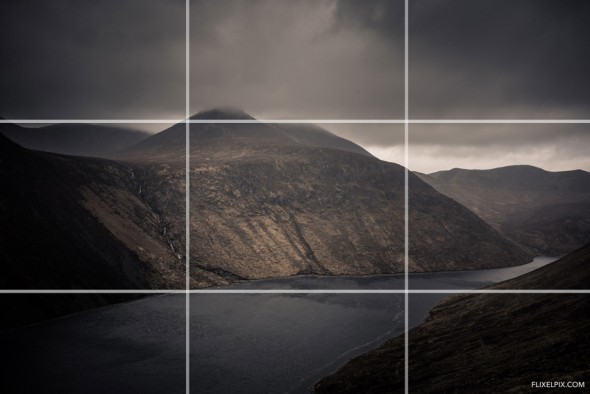
Composition is as important as getting the correct exposure, sometimes more so. I tend to follow two key rules for my hill-walking landscape photography. Firstly, I look for a point of interest in the foreground of the frame and will tend to put the camera’s focus square on this area. Secondly, I tend to loosely follow the rule of thirds, both horizontally and vertically, to divide the image up.
Metering Modes
Although nine times of out of ten I will be using ‘evaluative metering’ for my landscape images, I also experiment with all three modes at the scene.
I rotate through spot, centre-weighted average and evaluative metering modes to find the best starting point for the image and then make manual adjustments using the exposure-composition dial to ensure maximum dynamic detail. This technique is particularly useful when shooting in snow-covered landscapes or where there is reflection from lakes, rivers or wet ground.
I always struggle with both the LCD and viewfinder in sunny situations in the mountains and, as I really like my landscape images to have lots of fine detail, I tend to under-expose my photos by half to one stop. I do this my setting the exposure-composition dial to -1 on the camera. I find it’s better to have a slightly underexposed image that can be corrected in Adobe Lightroom than an overexposed photo with blown highlights.
Using Filters
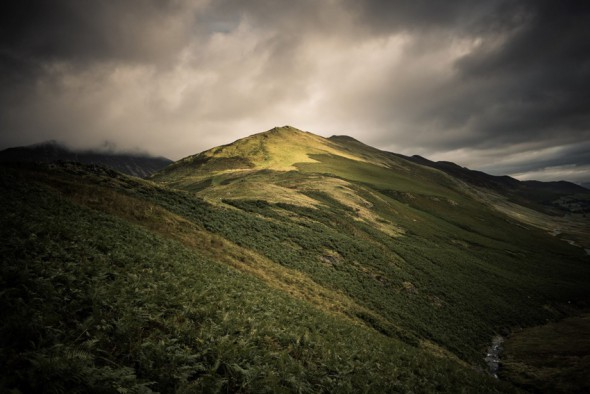
Balancing a dark landscape against a bright sky can be a challenge and a dynamic sky can make for a much more interesting image. One way of balancing the landscape and sky is by using a ND Grad (Neutral-Density Graduation filter). I use the Lee Filter ND6 (grad) filter most often; this filter offers a 6-stop filter for skies graduating down to 0 for the foreground.
You might have heard the terms hard and soft when it comes to graduated filters. In the case of a hard filter, the line between the filtered section and unfiltered section is very defined. In the case of a soft ND Grad, the differentiation is softer and less specific. The Lee Filter holder allows you to slide the filter up and down so it’s a matter of matching the filter line with the horizon between the landscape and skyline.
I also tend to enhance the ND graduation in Lightroom at the post-production stage. Although the ND Graduation tool in Lightroom is brilliant I do think the best quality comes from using an ND Grad filter on-camera and then tweaking the final image in LR. For the same reason I underexpose by 1 stop as it’s considerably easier to pull detail out of an underexposed image than an overexposed one.


Panoramic Images
Most Fujifilm X-range cameras come with a built-in feature for capturing panoramic images. It is really easy to use: set the aperture and size (in degrees) of the panoramic image you require, press the shutter button and sweep slowly across the scene. The camera will then automatically stitch together the resultant captures into a single high-resolution JPG file.
It can take a few attempts to get the composition and framing correct but I really love this feature when out on the hills. I recently had one of my Fujifilm X100T panoramic images professionally printed and the quality was breathtaking. If you already own a Fujifilm X camera then don’t neglect this feature.
Extreme Weather
It’s no secret that cameras do not like extremes of weather. If a rain cover is available for your camera, get one and reduce the chances of moisture damage. On very cold days I also wrap up my batteries when in my bag for added protection. Some manufactures have specifically designed bags for the outdoor photographer; Manfrotto’s new ‘Off Road’ series looks particularly good.
In Conclusion
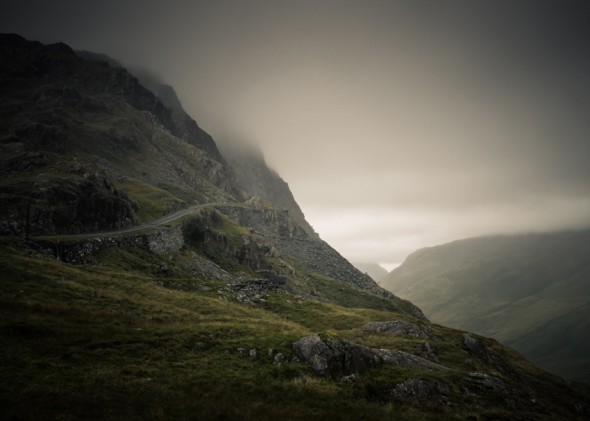
It can be an anxious experience taking your expensive camera gear out into the wilds of the great outdoors but there’s nothing worse than looking out on a scene and wishing you had packed your camera. There are a growing number of ultra-portable, powerful cameras on the market and it can be a liberating experience travelling light. Over the years my mountain camera gear has become lighter and lighter. There is considerable enjoyment to be gained from walking in the hills and mountains. With a good bag and some care and attention, you may just find the best photos are captured when the weather isn’t on your side.
About the Author
David is a documentary and landscape photographer covering everything from dramatic long-exposure landscape photography through to live music. David is also an official Fujifilm X Photographer. You can see more of his work on his website or follow him on X or Facebook.


