Welcome to our guide to how to paint with light. Light painting is a fun, creative and relatively inexpensive photographic activity that allows you to add something personal and unique to your photos, as well as help you learn more about your camera’s settings.
Painting with light is a photographic technique in which a handheld light source is used to illuminate an otherwise dark scene, with a long exposure used in-camera to capture the illumination and light patterns created. The light source can be anything from a simple handheld torch to burning steel wool.
Fun to do by yourself or with friends, light painting doesn’t need tons of expertise or expensive equipment. Half the fun of light painting is experimenting with making your own kit. So, let’s take a close look at how to paint with light.
Types of light painting
There are two main ways to illuminate a scene by painting with light: one with the light source facing the camera and the other with the light being shone out away from the camera. Let’s take a look at each one:
Towards the camera
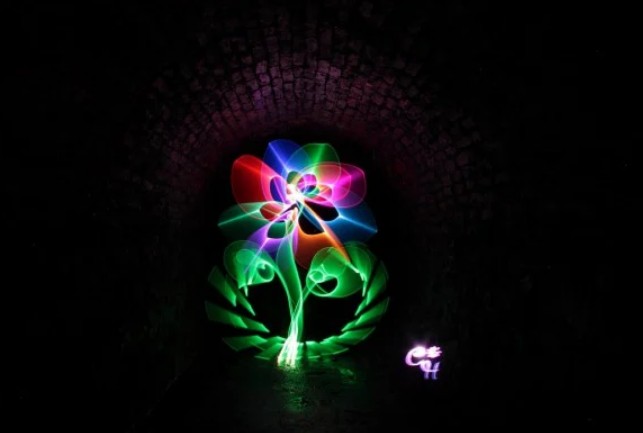
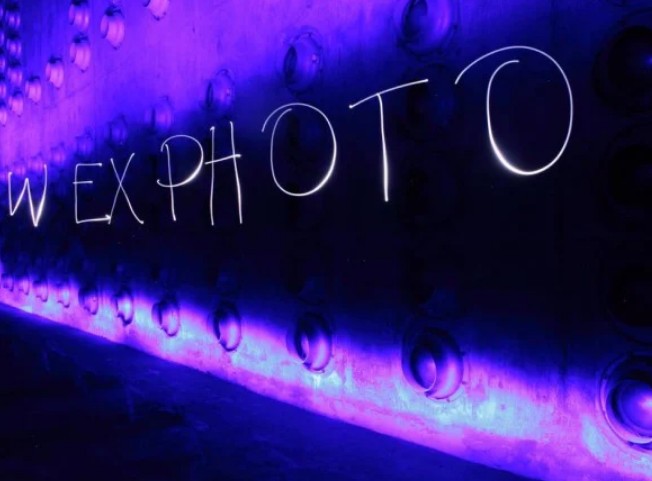
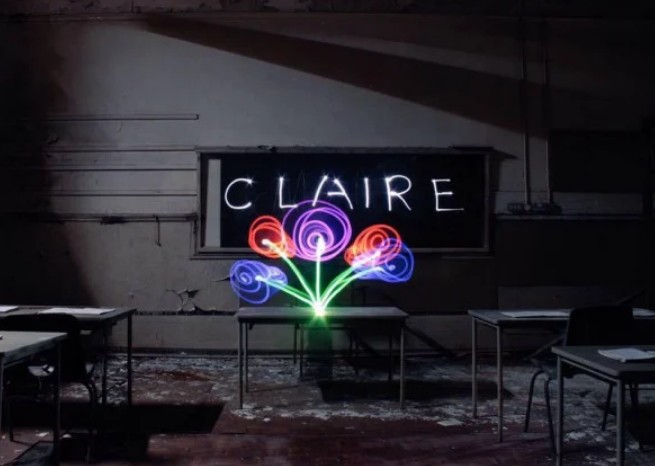
With the light facing towards the camera, all kinds of patterns can be drawn, including words and line drawings. The only real limitations are the drawing skills of the light painter and the light source itself.
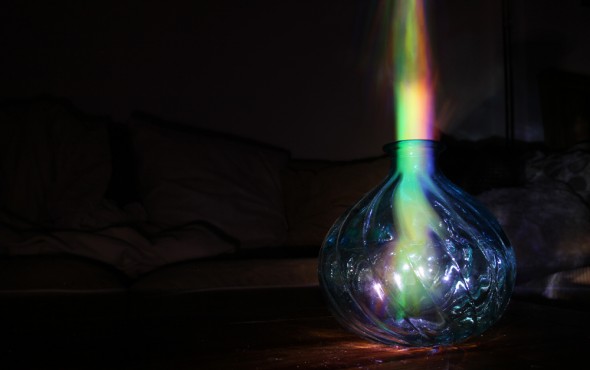
Light painters have experimented with all kinds of lights to create interesting patterns. Light sabres and multicoloured LED light panels allow patterns not possible with a simple torch. Spinning steel wool is an explosive technique, too.
Light painting towards the camera combines the art of photography with creative drawing skills and movements, making it a great option for those wanting to try something a little different and have some fun.
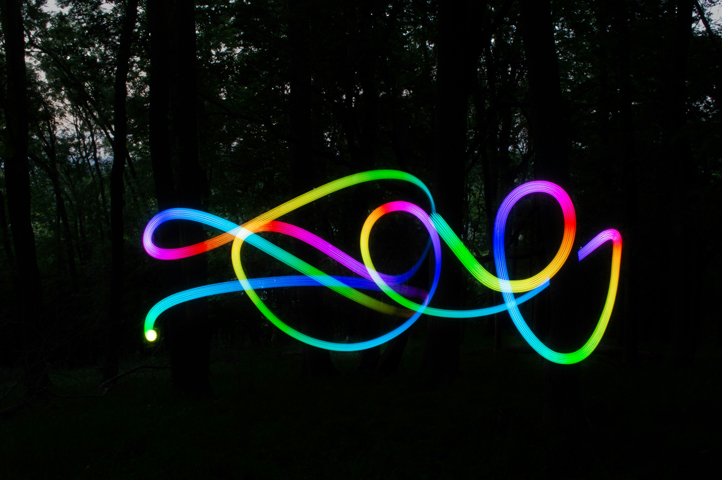
Reuben from Unsplash.com
Away from the camera
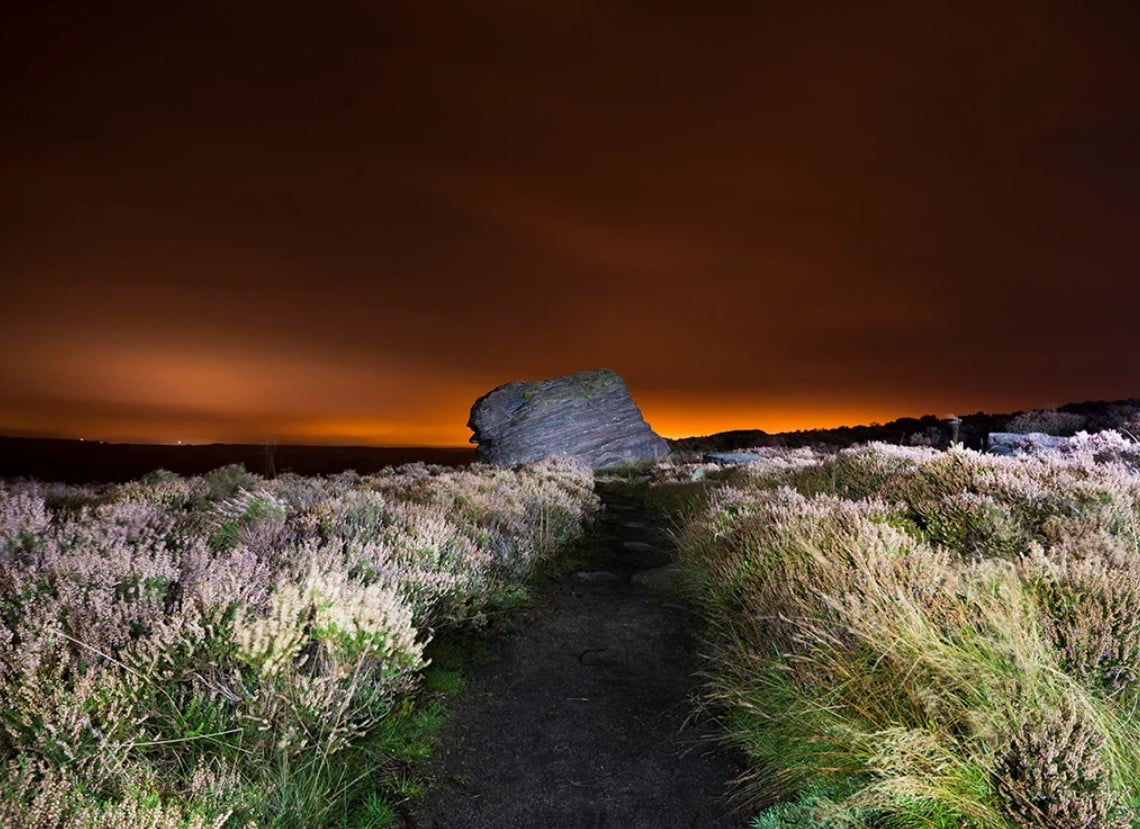
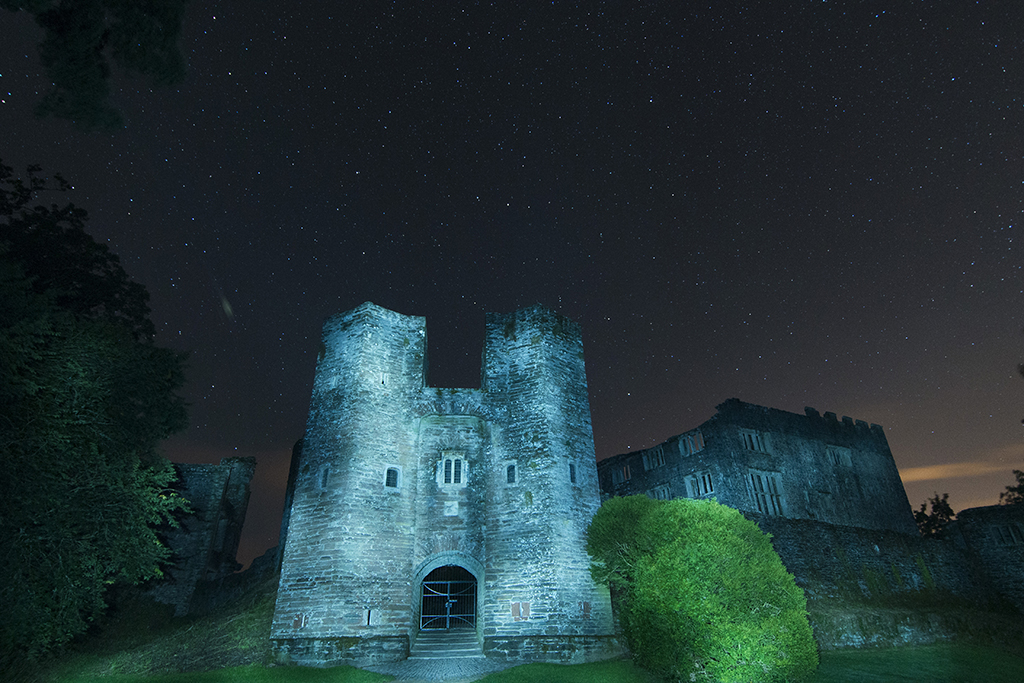
As an alternative to shining a light towards the camera, a handheld light source can be shined away from the camera. The key use of this technique is that dark objects can be given a lift (brightened) and detail revealed.
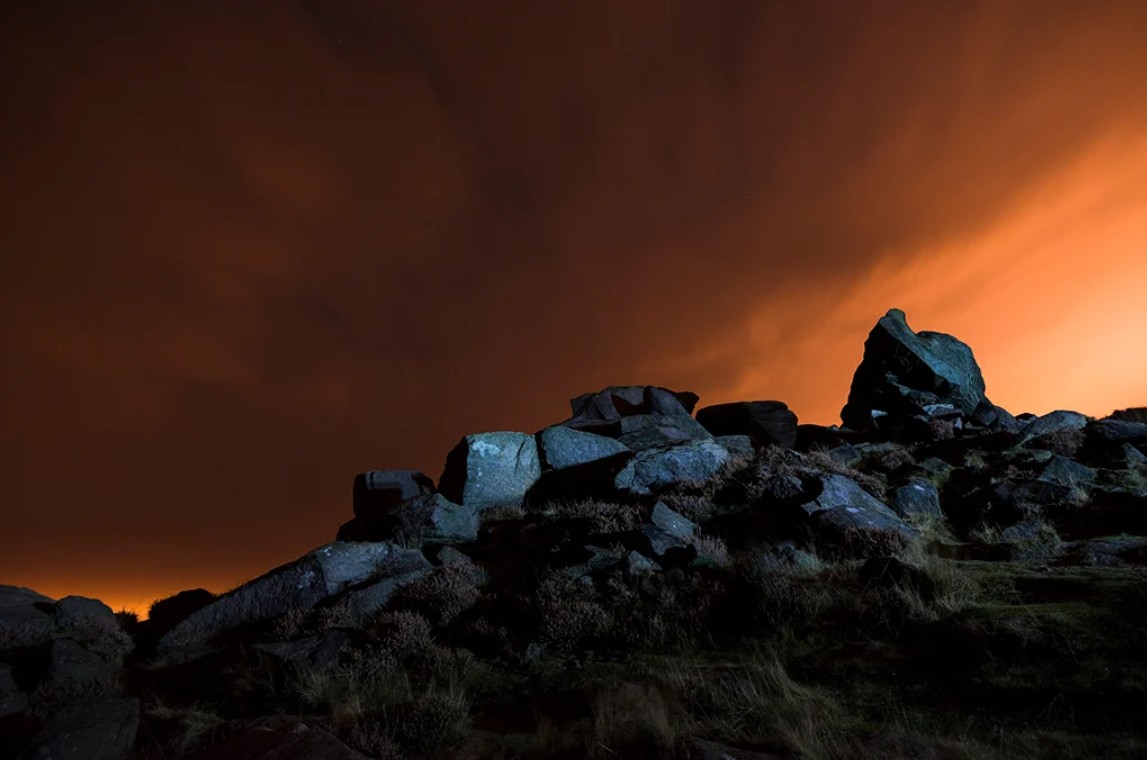
Landscape photographers shooting at night or twilight can make use of painting with light to give a boost to the brightness of landscape areas in the foreground, bringing these areas closer to the ambient brightness of the sky. Without the introduction of painted light, such objects would simply not be visible aside from their silhouette.
 Tim Coleman Photography
What equipment do I need for light painting?
Kit for light painting is fairly minimal, but there are some requirements. Here’s what you need to get started.
Camera
You need a camera that allows you to set your own shutter speed. While not all light painting activities require a lengthy exposure, and anything from 10-20 seconds will be enough to get started, you’ll find life much easier in the long run if you get a camera with a “Bulb” mode that allows the shutter to be opened for an indefinite period.
An interchangeable-lens mirrorless or DSLR camera is your best bet, as this will allow you to use lenses with larger maximum apertures — very useful when working in dim conditions.
A sturdy tripod
When you're using a long exposure, you will need to keep the camera still to avoid any blur, so a tripod is a must.
Wireless remote
A remote control enables you to release the shutter and keep it open for as long as the camera will allow without having to hold down the button yourself. Another option can be to connect your smartphone to your camera via Wi-Fi and trigger the shutter remotely — assuming your camera offers this functionality.
Light source
Camera kit aside, a decent torch is the key investment for light painters. If you have a camera and a torch, you can light paint. You don’t need to break the bank — it’s possible to acquire a powerful torch for as little as £1. Glow sticks will also work, as will matches, sparklers, an LED lamp or even just your phone (as long as you’re not using it as a remote trigger).
Torches of different sizes, colours and strobe speeds can have different effects, you can add filters and acrylic rods to make “light wands” – the possibilities are practically endless. You can never have too many torches!
If you’re planning on using light-painting away from the camera to illuminate objects or landscapes, you’ll want a fairly powerful torch. Consider also the colour temperature of the torchlight as it has a huge impact on the feel of the image. A landscape illuminated by a clinical LED white light source will obviously feel cold, but may also add a feeling of calm and complement the sky during twilight. The light of most torches has a yellowish hue, which can give a pleasing contrast to the rich blues in a twilight sky.
How to set up a camera for light painting
Position your camera or object to where you want it — try experimenting with a variety of perspectives. Attach your camera to your tripod and set it to the right height. Once this is done, you can get to the tricky part — focusing.
Focusing
When shooting in the dark, it’s quickly evident just how tricky it is to focus sharply. Most camera systems will simply not autofocus properly at night, while those that do are less likely to be accurate than when shooting in the daylight hours. For this reason, it’s best to use manual focus instead of autofocus.
Manual focus in itself does not solve the difficulty of focusing accurately at night, because in the dark it’s still tricky to check focusing before you take the shot. This is where the torchlight helps; illuminating the desired focus area makes it easier to see whether it’s in focus.
Should your camera have a viewfinder, your subject may not be clear enough through it, even with torchlight in play. Another option in this case is to use Live View with focus magnification to see the subject in closer detail on the rear display.
It’s also possible to use the focus distance marker on a lens barrel or rear LCD screen as a guide. If you want most things in focus then an aperture of around f/11-16 and focus distance set a fraction closer than infinity will result in most objects being in focus.
Or, if you have an extra body available, get someone to stand in the centre of the scene and shine a torch back on themselves. Get them sharp with the autofocus, and then switch the lens back to manual once focused. This done, place a marker (like a silver coin) on the floor where they’re standing to mark the focal plane. There should be no need to re-focus again between shots unless you move your camera.
What camera settings should I use for light painting?
While naturally this is going to vary on a shot-by-shot basis, here are some general tips for setting your camera for light painting.
Shutter speed
A long exposure is necessary to capture the effects of light painting. With the camera fixed to a tripod, a slow shutter speed records the light painting while all static objects remain sharp. Generally the areas illuminated by light are brighter than the night sky light, which creates a strong contrast, especially if the light source is bright.
It is a good idea to experiment with the shutter speed. The longer the exposure, the brighter the areas not illuminated by light painting become, which reduces the contrast between light and dark areas. It’s also possible to use a higher ISO setting to brighten the dark areas in a light-painting image.
When recording long exposures, watch out for long-exposure noise and light pollution, both of which are increased with a longer shutter speed. Most cameras that offer the choice of long-exposure noise reduction being on or off will, by default, have the setting on. Light pollution gives the sky a more orange tone, which may or may not be desirable.
Exposure
Again, this will vary. But if the night sky is dark, a good exposure to start with is an aperture of f/8, a shutter speed of 25 seconds and ISO 400. Try it, review your results, and adjust as needed.
For the best possible image quality it’s a good idea to shoot a bright exposure. So, if your shutter speed dictates the exposure then you’ll have to adjust the ISO and aperture accordingly. Depending on the subject and desired depth of field, the aperture may need to be adjusted, which in turn will impact the required shutter speed and ISO.
You can use anything from a large aperture (small f-number) at f/4 to a small aperture (large f-number) at f/22. As long as you stop down enough so that your point of interest is in focus and sharp then that is all that matters. Use the lowest ISO setting possible to avoid grain (noise) creeping into your shot.
Colour
Try not to use the Auto White Balance (AWB) setting when shooting in the dark of night, as the results will not look right, usually being too warm. Generally the best white balance setting is the tungsten WB preset because it keeps the cool night colours. Alternatively, you can manually select the temperature in the Kelvin white balance setting to approximately 3000K.
Reviewing images
A vital practice in night photography is reviewing images after they have been taken for accurate focusing, correct exposure and the effectiveness of the light painting. In playback, zoom in as much as possible to key areas and look at the details to ensure the focus is spot on. Most cameras display a low-resolution JPEG version of the picture that will not show precise details, but this playback is good enough for most subjects. Don’t arrive home and review your pictures afterwards only to discover the focusing is off!
Light painting techniques
Light painting is incredibly freeform, and really once you’re set up, you can do whatever you like and just see if it works.
Drawing with light
Stand facing the camera, ensuring you have enough space. Remember, using markers on the floor can be useful to make sure you’re in the right place and everything you draw is in shot to ensure you get all your drawing / writing in shot.
Once your shutter is open you can make a start, ensuring your torch or light source keeps facing the camera. Drawing massive artworks can be quite tricky at first; it’s rather difficult in the dark to remember where you have already drawn. It takes practice and a lot of trial and error.
Painting away from the camera
Facing the torchlight away from the camera illuminates the landscape and avoids the bright streaks of light that occur when the light source is pointed towards the camera.
Brightening areas in the foreground, such as rocks or a tree, provides a point of interest in your picture, rather than the foreground appearing as a silhouette (although silhouettes can look great too).
With a torch in hand, position yourself out of shot and trigger the camera. Remember that the angle at which the light is shone in relation to the camera affects the results. Shining from behind the camera creates a front-lighting effect, which, when covering a wide area, can end up leaving the scene looking a little flat. But give it a go nonetheless to see if this suits.
Lighting from a position way off to the side can give the scene some punch. The camera will need to be triggered remotely or the timer drive mode used to allow you to get in position before the exposure starts.
If you have willing company or are able to use two lights at once, why not try using multiple lights to illuminate the points of interest?
No two pictures look the same when light painting. In this respect, it’s well worth making several attempts at the same scene.
Writing with light
Writing with light is a straightforward technique to try, and is a good way to get used to the feeling of light painting.
Stand facing the camera, ensuring you have enough space. Once your shutter is open, you can make a start, ensuring your torch or light source keeps facing the camera. Here are a few quick tips to help get you started:
- Multi-coloured writing and drawing can look really effective. If you don’t have a coloured torch then try using coloured filters, which don’t have to be expensive — Quality Street cellophane wrappers and an elastic band will convert a white light torch to a coloured torch.
- Use the on/off button between letters, and take your time.
- Remember to write backwards, or you will need to flip your photo horizontally.
The Wex Blog
Sign up for our newsletter today!
- Subscribe for exclusive discounts and special offers
- Receive our monthly content roundups
- Get the latest news and know-how from our experts

