
Landscape photography is a broad umbrella term that covers a multitude of disciplines that focuses on capturing the natural world. This encompasses what you might immediately imagine when it comes to the term ‘landscape photography’, which is usually big vistas, bathed in warm light, scenes that are sometimes referred to as ‘hero shots’.
However, there’s more to the genre than the traditional concept of wide-angle captures, and you’ll find landscape photographers experimenting with techniques such as intentional camera movement (ICM), multiple exposures and other abstract concepts. Nevertheless, we can consider landscape photography as an exploration of the relationship between the photographer and the natural world in whatever form they deem acceptable.
Oftentimes landscape photographers are interested in shooting during particularly interesting weather and during either end of the day (sunrise or sunset) because of what is termed the ‘golden hour’ light that can be found during these times. Exploiting interesting weather conditions, such as stormy skies, or certain phenomenon such as fog or mist, can add a sense of mystery and dynamism to an image and elevate it to something extraordinary. Ultimately, landscape photography is a tricky genre that takes a lot of time and patience to do well, but in this blog I’ll hopefully be able to illuminate some techniques that will help you on your journey.
How to focus for landscape photography
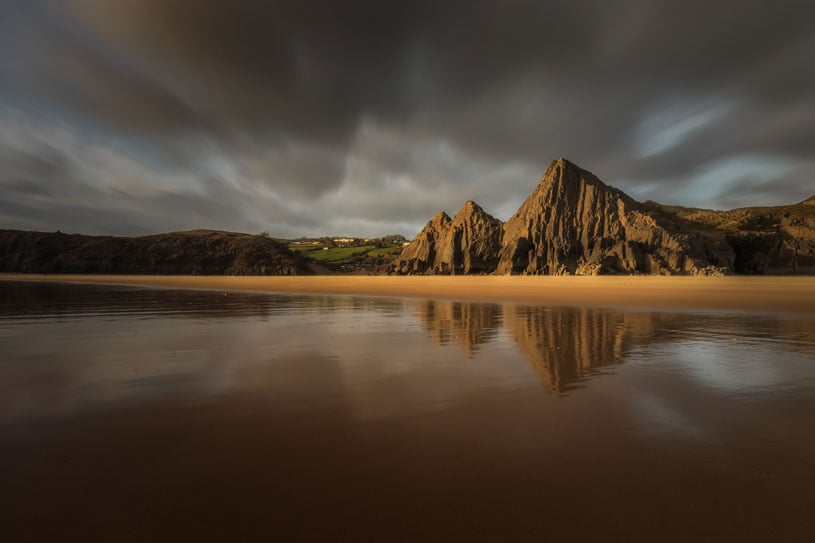
How you focus for landscape photography is entirely dependent on the scenario on the situation you find yourself in and the type of camera/lens you’re using. The benefit of modern digital cameras is that you’re able to pick from a range of focal points across the scene to ensure that you’ll achieve what you want compositionally from an image. The other factor that impacts on focussing is whether or not you’re using a tripod. If your camera is on a tripod you have greater control over the focal points and the shutter speed as there is a reduced risk of camera shake. For instance, if you’re hoping to capture a vista with a wide-angle lens, there are a few factors to consider, such as the positioning of the foreground, background and sky. Most traditional landscape images are captured with a small aperture to maintain clarity and focus throughout the image. With this in mind, the general rule is to choose a focal point around one third of the way into the image. This gives the best chance of ensuring sharpness is maintained from foreground to background. Some lenses are manual focus only, and in this case most cameras will allow you to zoom in on a scene and manually adjust to ensure sharpness.

If you are using your camera without a tripod (in a woodland for instance), then it is prudent to rely on the camera’s autofocus system and adjust the focal point depending on the which part of the image you’d like to be the focal point.
How to find landscape photography locations

The internet and social media platforms such as Instagram have undoubtedly made finding landscape locations easier and there are many ‘honeypot’ locations around the UK (and further afield) that draw in landscape photographers because of their beauty and potential.
When I was first getting into landscape photography I found that Flickr was an essential tool for location inspiration and it led me to beauty spots in such as the Lake District and Scotland. However, many of the traditional vistas that capture the imagination on social media are not always the easiest to access, and they can become overpopulated.
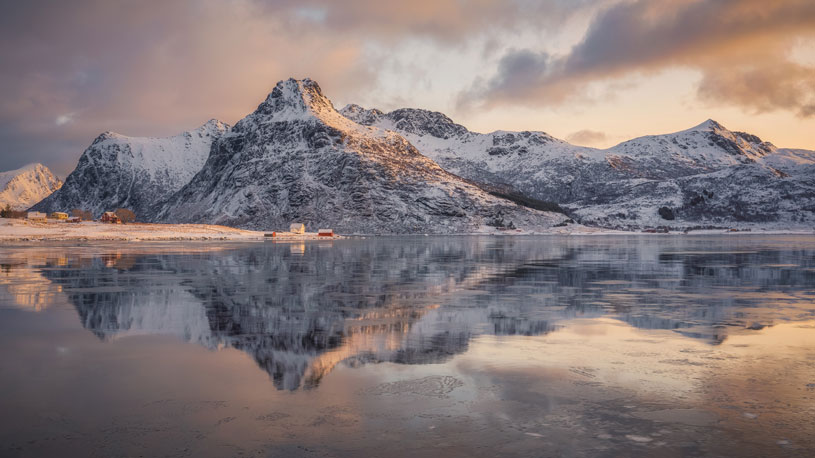
I find that one of the best ways to find interesting landscape photography locations is to go to a place and explore without an agenda.
Although there is an immediacy to digital photography, the methodology of discovering a potential composition is a much slower process. I recommend getting to know your local beauty spots or plan to visit a place more than once as this gives your creativity a chance to ‘see’ potential for future conditions. There’s no harm or shame in capturing a scene that inspired you when you saw it on social media, it is something I do all the time, however there’s a thrill and joy found in exploring a new area and finding something that feels fresh.
What f-stop is best of landscape photography

When it comes to your f-stop (or aperture), there are no fixed rules, but there are a couple of guidelines that can help you get the most of out of your imagery. Most lenses have a sweet spot when it comes to sharpness, and that sits around f/8 – f/13. I generally stick with f/11 if I want to get as such depth of field as possible without compromising on sharpness. It might be your instinct to push the aperture to f/16 – f/22 if you’re just starting out, thinking this will increase the sharpness, but that’s not necessarily the case.
In fact, the further you head towards the end of the focal range, the more you compromise with chromatic aberrations and vignette, not to mention it’ll show up every single little dust spot on your sensor (and trust me, there are usually hundreds). However, you might want to push your f-stop towards the higher end if you want to achieve a sunstar or a longer exposure.

The joy of landscape photography is the ability to get creative, and sometimes there is merit in lowering the f-stop to create a shallow depth of field. This can be useful if you want something to stand out in an image, such as a tree or some fungi. I find that shooting at a lower aperture provides greater creative freedom, especially when capturing woodland imagery or elements in the landscape.

What is the best camera for landscape photography
I like to say that ‘the best camera is the one that you have on you’, and I do truly believe that. Oftentimes I’ve been out with just my mobile phone and captured images that I’ve enjoyed immensely. However, it all depends on what you want to get out of the final image -- for instance is it just a quick snap to share for prosperities sake, or do you want this to be something a little more special?
Photographers can get hung up on camera brands, but really the best camera for landscape photography is the camera that works best for you. It might be a mirrorless camera that is light to carry or it might be a heavy-weight full frame DSLR with a massive sensor that’s capable of capturing imagery with precise detail that only really comes to life when the image is printed. Often, you’ll find that you land somewhere in the middle. Landscape photography can involve quite a bit of walking/hiking, so being able to carry your kit without too much hassle is invaluable, and at the same time you want to know that the camera is capable of replicating the vistas you’ll find.
What is the best shutter speed for landscape photography
Shutter speed relates to how long the camera shutter is open when capturing an image. Most cameras can capture as fast as 1/8000th of a second to the other extreme of long exposures lasting from a few seconds to many minutes.
It all depends in what situation you’re shooting and what you want from the image. If you’re in bright sunlight and would like a shallow depth of field, then you can utilise the fast shutter speed capabilities of your camera. However, the more useful technique that is often employed by landscape photographers are long exposures. From a few seconds to a few minutes, long exposures can drastically affect the look and feel of an image, adding movement to an otherwise static narrative.

Often long exposures become par for the course when shooting pre-dawn or post-sunset as there is less available light, but there are other ways to creatively control the shutter speed, such as using neutral density filters which decrease the amount of light reaching the sensor and therefore lengthen out the exposure time.
What is the best lens for landscape photography
Any landscape photographer worth their salt will have various types of lenses that they take out with them on a shoot, covering focal lengths from around 16mm to 400mm. When you’re just starting out, I would recommend getting hold of a wide-angle lens (somewhere in the region of 16-35mm) and a telephoto lens (70-200mm or a similar equivalent).

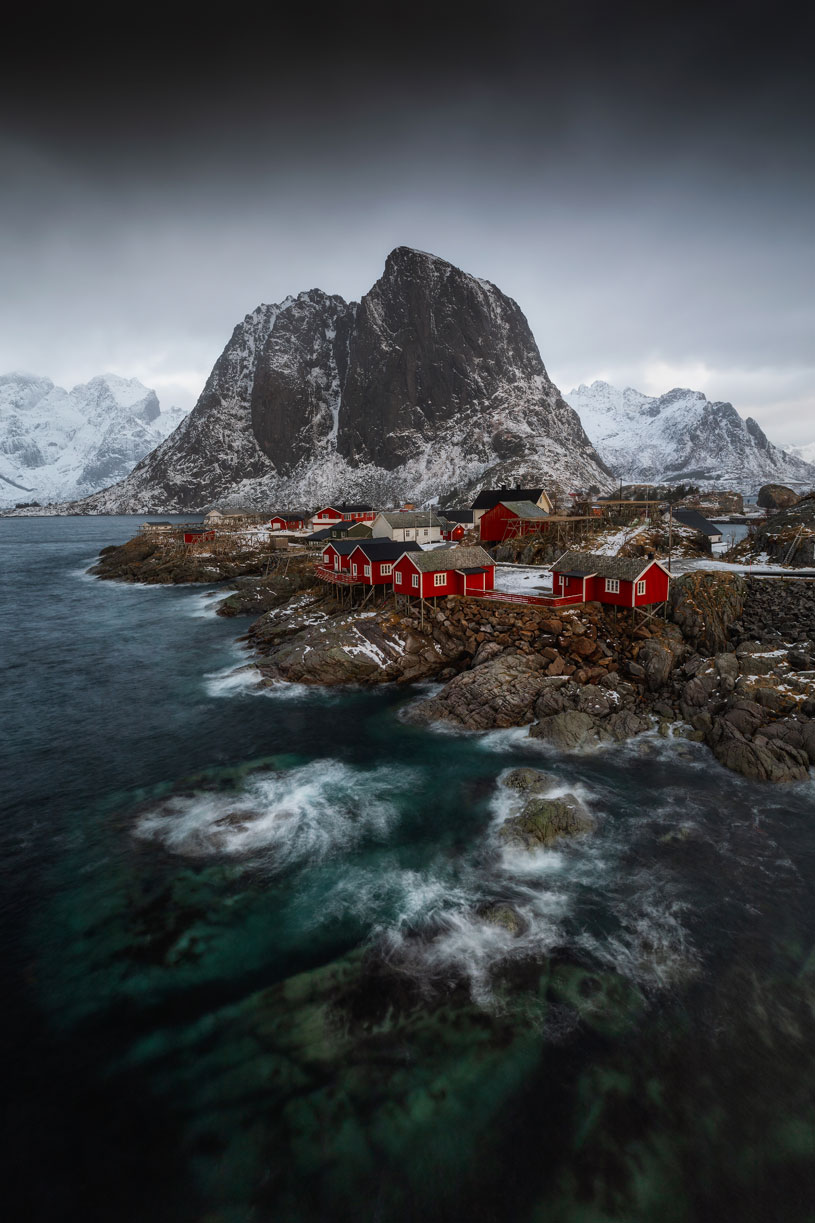
Wide-angle lenses are typical used by landscape photographers, but they’re probably the hardest lens to compose with because you must be aware of how all the elements in the composition fit together to avoid it becoming messy or lacking a focal point. Often, I use a wide-angle lens in portrait orientation because it’s easier to find a composition.
How to use hyperfocal distance in landscape photography
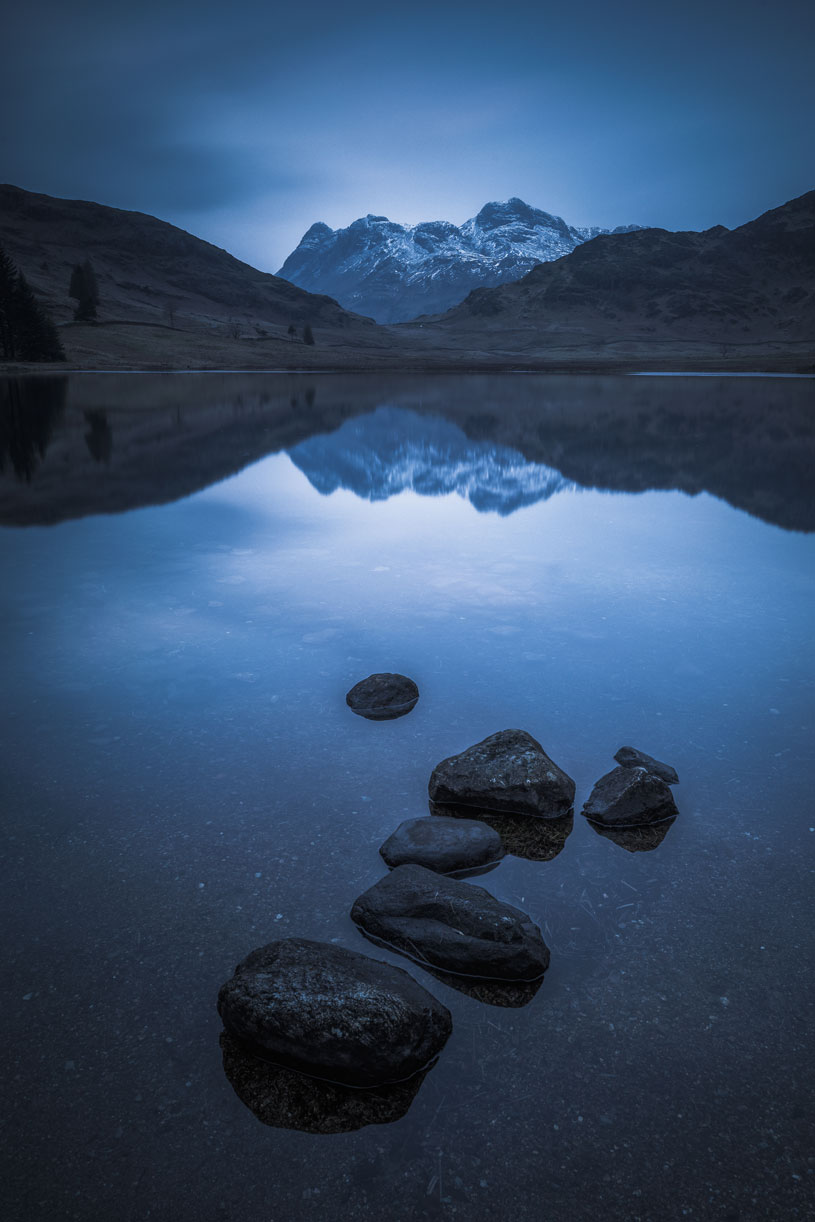
Hyperfocal distance can be rather complex to understand, but having that understanding can be invaluable to ensure that everything in your landscape image is sharp from front to back. As mentioned previously, this has a lot to do with where you decide to focus, and this relates to the hyperfocal distance. For example, if you want the foreground and background to be in focus, then it makes sense to focus on something between the two to ensure that both the elements have a reasonable level of sharpness. Each lens has its own hyperfocal ‘sweet spot’ which relates to the aperture that you choose.

Hyperfocal distance only comes into play when you have landscapes with foreground elements that you want to remain as sharp as the background. If you’re using a telephoto to capture something further away, focusing is almost always set to infinity so there’s no need to be concerned with the hyperfocal distance. Helpfully there are plenty of hyperfocal distance charts available to ensure you get the maximum amount of sharpness throughout your image without having to resort to techniques such as focus stacking.
How to use graduated filters landscape photography
One of the biggest frustrations of landscape photographers is finding a way to balance the exposure of an image. Our eyes are incredibly versatile. You can look at a sunset and perceive the whole dynamic range. You can see the brightest points of the sky and still perceive the detail in the shadow. This skill does not unfortunately transfer well to our cameras. This is where neutral density graduated filters comes in handy.
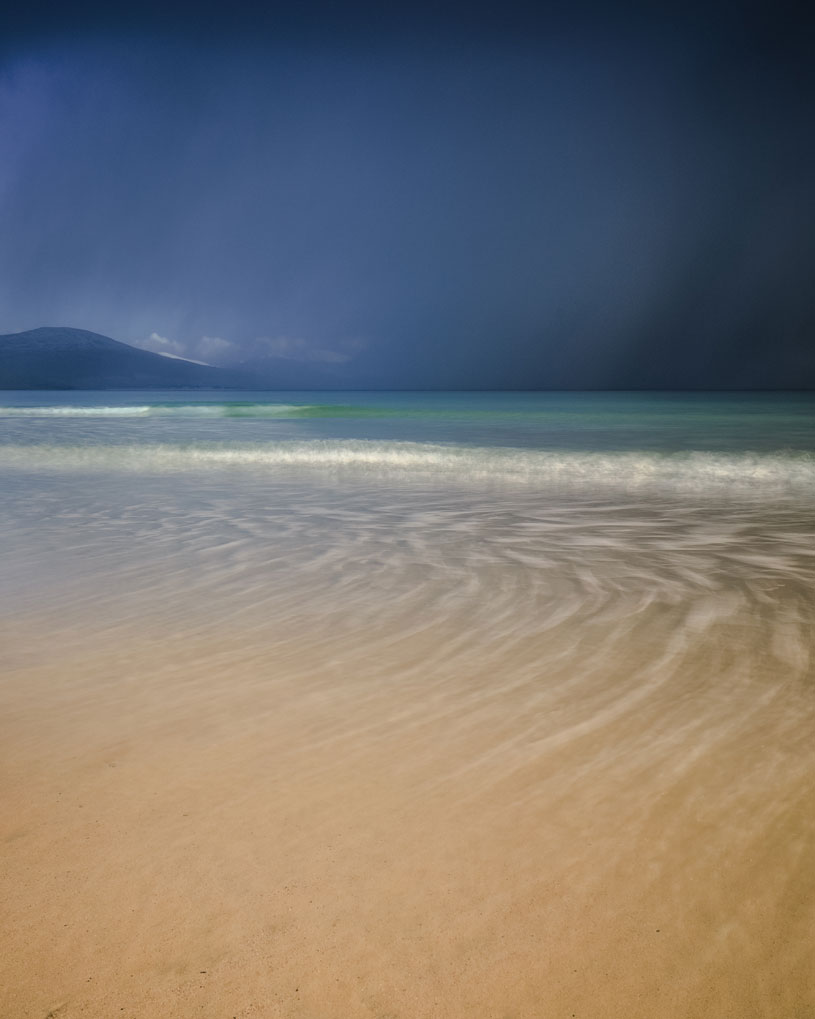
The ND grad (as it is commonly called) is designed to maintain detail in the sky whilst allowing you to exposure for the foreground. This means you can navigate and avoid those moments where either the sky is too bright or the foreground too dark. ND grad filters come in different varieties and strengths. You can get either soft, medium or hard versions. This relates to the transition between the darkened section and rest of the filter. I prefer to use a soft grad because the line isn’t so defined and therefore is more forgiving if you have a complex foreground. The hard version provides a decisive line so you need subject matter that has an obvious horizon, such as a seascape. There are also various strengths in terms of how dark the filter is at the top. For example, a 0.9 is towards the darker end of the scale. This translates to just under a stop of light. There are various other strengths available such as a 0.3, 0.6 or even a 1.2 dependant on the scene you’re capturing and how much control you need over the exposure. The thing to remember with ND graduated filters is to make sure you’re using the clear area of the filter to expose for the foreground, or else your results will be less that desirable.
Do I need a tripod for landscape photography

One of the mistakes that people new to landscape photography make is investing heavily in an expensive camera/lenses but relying on a cheap tripod. This almost inevitably leads to mishaps, especially when capturing long exposures or shooting in windy conditions.
If you want to get creative with landscape photography and use tools such as ND grads/ND filters, then a sturdy tripod is a must as such filters will reduce your shutter speed making it impossible to capture sharp images handheld. This is also relevant when shooting at either end of the day when there is less light, so a tripod is an essential tool.
That aside, tripods can be cumbersome to carry around and it’s worth doing some research regarding size and weight to ensure you’re not discouraged from carrying the tripod when out in the landscape.


