Neil Burnell explains the technique behind his minimalist driftwood landscapes
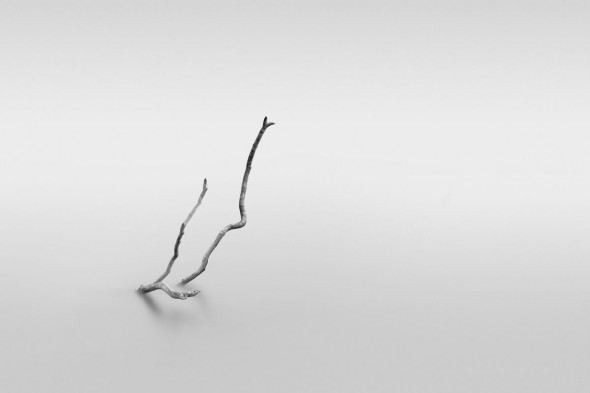
Image by Neil Burnell
After a couple years of experimenting with my photography, mainly doing macro, wildlife and landscape, I decided to put more of my focus into long-exposure seascapes. I’m currently really into my minimalist long-exposure photography, and am constantly looking at forecasts to try and take advantage of mist, fog and overcast days in order to shoot areas of interest on the coastline.
One project I have recently set myself is driftwood! It’s a nice simple project for me and is ideal for when I only have an hour or two available. I walk my local river (the River Dart) on a low tide in search of washed up driftwood. There are so many fascinating shapes and textures within the wood – some make for great minimalist subjects, and pretty much all of them will result in a unique scene.
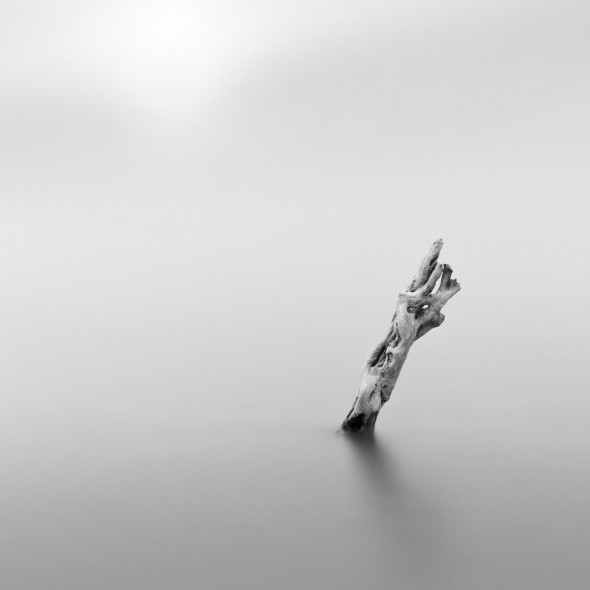
Something as simple as wood in water can, with a little work, make for a dramatic and ghostly scene
Shooting
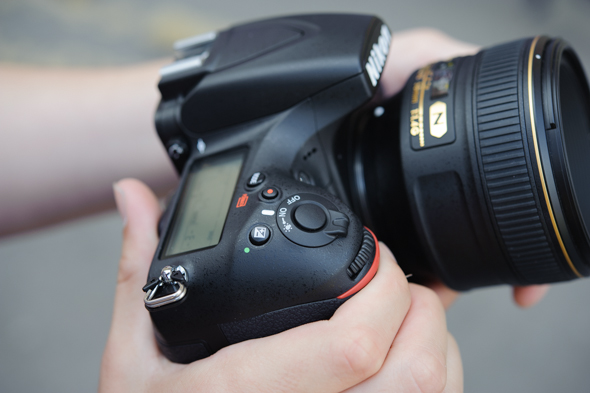
A sophisticated DSLR like the Nikon D810, which Neil uses, is ideal for this kind of project
Ideally I’d choose a calm overcast day for this project; the less texture in the clouds, the better. So those flat dull days nobody wants to shoot on are ideal! A dull sky really helps to keep water reflections to a minimum.
After finding some suitable driftwood, I place it in the water (using a flat sandy area) on an incoming tide. It’s important to choose a clear area to do this, with no distractions in the frame.
I then set up my camera to shoot the driftwood from slightly above the subject, making sure the horizon line is slightly out of the frame, or at the very least not behind the driftwood. This is to avoid the need for any extra unnecessary processing.
It’s also very important that there are no reflections in the frame, as this will cause an uneven tone within the long exposure.
I get my subject in focus, then switch to manual using my Nikon 35mm f/1.8 lens and take a few shots just to make sure everything is pin sharp. Once I’m happy, I will work out the exposure using either a 10-stop or 15-stop ND filter, Ideally I’m looking for exposures longer than a minute in order to get the water as smooth as I possibly can. I’ve found I get the best results at around the 3-minute mark, especially if there is a little bit of movement on the water. Once I’m happy with the shots, then I’m ready for processing.
Processing
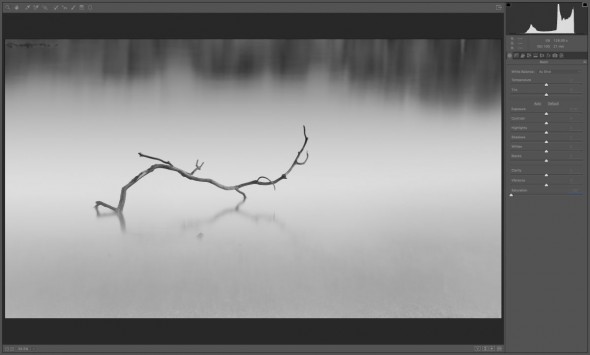
Loading an image into post-processing
For processing the images I use a simple formula. Firstly I desaturate the image in Adobe Camera Raw (ACR) so I can get an idea of how the image will work in monochrome. I then use the usual sliders in ACR to make sure I have a good level of definition on the driftwood, and good separation from subject to the silky smooth water. Another thing I always try and do with these images is get as full a mono tonal range as possible.
The last thing to do in ACR or Lightroom is to use the gradient tool and start with an exposure of -10. I then drag this down the image, stopping roughly where I want to place the horizon. This gradient helps to create an optical illusion, giving the image a sense that there is almost a mist present.
The last bit of the processing is done in Photoshop. I firstly just clean up any imperfections in the water using the clone stamp, before adding a layer of levels and curves if I feel the image needs it.
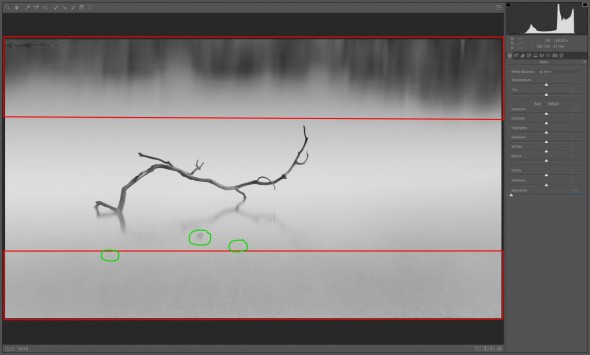
It’s best to clone out distracting elements for a clean final result
Lastly I use high-pass filter sharpening to really give the driftwood that crisp defined look.
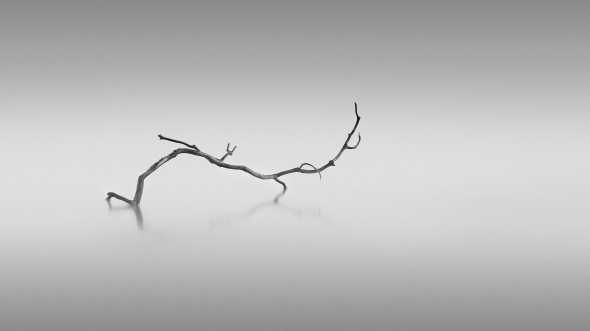
Image by Neil Burnell
Neil’s equipment:
- Nikon D810
- Nikon 35mm 1.8
- Cable release timer
- Manfrotto 055
- Lee Super Stopper
- Formatt HiTech 10-stop Firecrest


