There is more to a camera’s built-in Wi-Fi than image sharing. Tim Coleman explains how Wi-Fi can transform a wildlife photography shoot
Most new cameras feature built-in Wi-Fi and it’s not just a gimmick. Asides from making image sharing quicker and easier, Wi-Fi can be an effective tool for certain photo shoots, take garden wildlife for example.
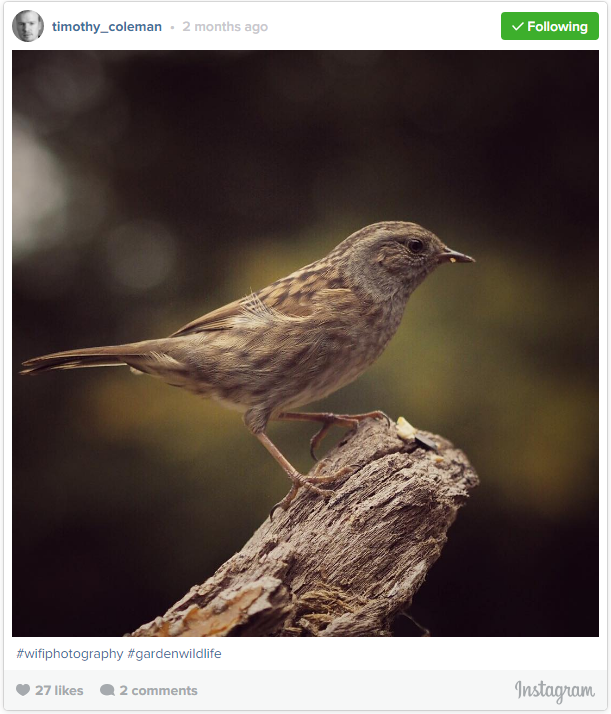
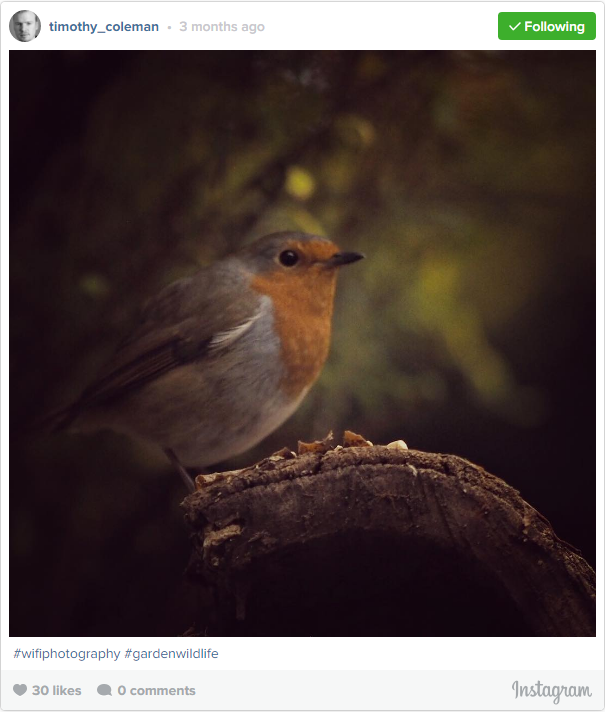
The picture you see in this article was set up, remotely shot, uploaded to phone, edited and shared inside of 10 minutes. New frontiers of wildlife photography have been made accessible thanks to Wi-Fi.
What use is Wi-Fi for wildlife photography?
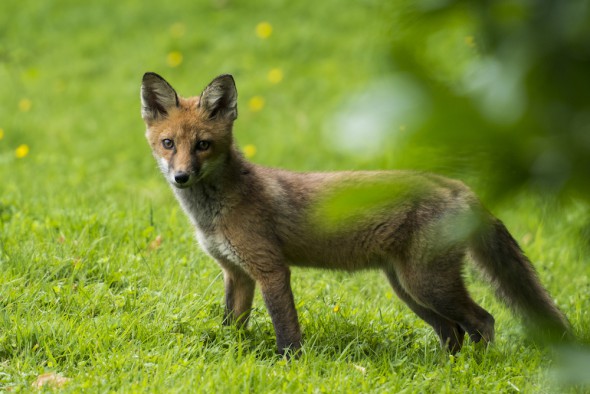
Where I live there is a lovely back garden and plenty of wildlife visitors – foxes, rabbits, squirrels, the occasional deer, and birds of all description.
Lacking an expensive telephoto lens in my kit bag, I've found it impossible to take close-up pictures of the wildlife, as animals tend to be scared away by me going too close using my regular zoom lens. Another option would be disguise, but I’m not keen on spending all day in a dark and damp hide. The solution? Wi-Fi.
The Wi-Fi features that truly aid a shoot are remote control and live view, both accessed via your phone once it's paired with the camera. For wildlife photography, it’s possible to place and leave a camera with any lens on a tripod within touching distance of the scene without scaring away wildlife. Out of sight and from a moderate distance, you can view what the camera sees on a phone and take the pictures.
Prior to Wi-Fi, I had used a radio trigger to operate my camera from afar. However, one needs to be in direct line of sight of the scene at all times to know when to shoot, and the control is largely limited to triggering (to be fair, a radio trigger does have superior range and does not drain the camera battery like Wi-Fi does).
My experience photographing garden wildlife was transformed after acquiring a camera featuring built-in Wi-Fi. My first Wi-Fi shoot yielded results that I had shared with the world in less than 10 minutes, thanks to a bit of prior knowledge of the environment and wildlife.
In this instance I am using the Olympus OM-D-E-M1, although other systems and more budget-friendly cameras offer similar Wi-Fi features. Let’s go through step-by-step how I achieved the picture you see here.

Setting up the scene
1. I walk into the garden with some bird seed and place it on a decent-looking branch. I have a budget-friendly 45mm (90mm effective) f/1.8 lens with the E-M1, so I need to set the camera up on a tripod approximately 1 to 1.5 metres from the branch to avoid cropping too heavily into any pictures of the birds I capture.
2. I take time experimenting with the positioning of the camera in relation to the branch to ensure the composition looks good. Ideally I want to hide the bird seed and keep the background clean. Not a bird-feeder in sight – that’s for lazy photographers! Hiding the camera and tripod within natural fauna avoids scaring wildlife away and can protect the camera from the elements.
Pairing the camera and phone
1. Using Wi-Fi, photos can be taken from a compatible phone once it’s paired with the camera. In this case, Olympus has a free app called Olympus Image Share (available on iOS and Android) which features remote control and live view, photo editing and geotagging. I’ve loaded the app and it offers an impressive number of camera controls.
2. However, to ensure a good exposure while addressing the changing weather conditions, not all the camera settings I need manual control of are available through the app. I need to make some selections in camera before I move away.

Adjusting camera settings
1. Selecting spot metering, I move the spot seen in live view over the brightest part of the branch – this way if the sun comes out then I won’t lose detail in the bright highlights. Many birds have bright wings especially in sunlight, and I don't want to lose this sort of detail. The Olympus system offers a spot shadow mode which eliminates the risk of losing detail in the highlights.
2. I manually focus sharply on the part of the branch that I have placed seeds to attract birds - One can be sure this is where the birds will stop. If I use autofocus the camera might not focus accurately or quick enough before the subject has gone away.
3. To ensure these fast-moving subjects are sharp, I need a suitably fast shutter speed. The best way with the Olympus system is to select shutter priority and a speed of 1/1000sec.
4. Using an ISO between 400 and 800 together with the fast shutter speed, the aperture is automatically ‘wide’ - between the maximum f/1.8 aperture and f/4 - which is great as it ensures the background is blurry to help the subject stand out. In some other camera systems, the auto ISO setting offers manual control of the minimum shutter speed and works perfectly for this type of shoot.
5. The continuous high-speed drive mode of the camera offers up to ten pictures per second - this setting increases the chances of capturing the perfect moment.

Shooting
1. Returning to the house and completely out of sight, I pop the kettle on and decide whether to do some work or relax by the fire, while keeping an eye on the live view feed of my phone for visiting birdlife. It’s not a particularly ‘wild’ wildlife photoshoot, but I am a multitasking man!
2. Within two minutes a robin comes and I trigger the camera using the control on the phone (an iPhone 5s)*. The trigger has virtually an immediate response which is impressive. Viewing the ten-frame capture on my phone, I have one picture that I am very pleased with – success on the first take! Note there are a couple of downsides to Wi-Fi Photography in this context - Wi-Fi drains the camera battery a quicker. With the camera in question the battery life proved to be around 3 hours, so a spare battery is handy. Also, on occasion there are communication errors between phone and camera which one needs to keep an eye in order to re-pair the devices.
Editing and sharing
1. I need not return to the camera in order to get those pictures as they are available on the phone. There are a few photo edits that can be made through the Olympus app, but instead I ‘import’ the picture onto the phone and load it in my favourite free image editing app called Snapseed.
2. I edit to taste, in this case increasing contrast and warmth, then share the edited picture through Instagram and the world can see the close up picture of a robin taken moments before!
There you have it. Garden wildlife photography made easy, thanks to Wi-Fi.
The picture is taken with an Olympus OM-D-E-M1 with 45mm f/1.8 lens attached, mounted to a travel tripod and triggered using Olympus Image Share. Camera settings: 1/1000sec, f/2.8, ISO 400. Edited with Snapseed.
About the Author
Tim has worked primarily as a wedding photographer and cameraman, but enjoys every kind of photography. He has worked for Amateur Photographer magazine as the Deputy Technical Editor, writing everything from camera reviews to advice on good photographic practice. You can view more of his work here.


