Subtlety is the key to attractive HDR photography, says landscape guru James Abbott
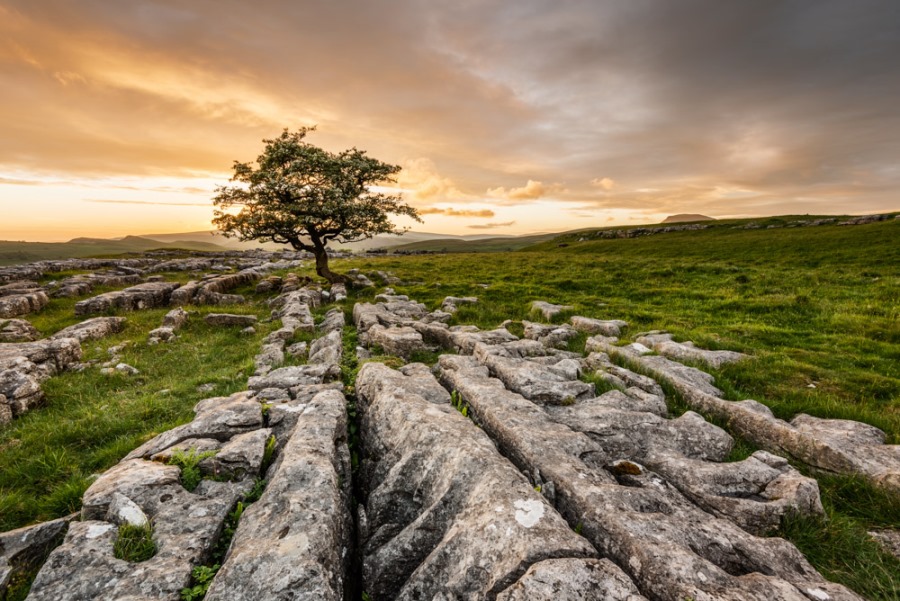
Photography by James Abbott.
Mention high dynamic range and you’ll send some photographers running for cover. But used subtly, this polarising technique can look as natural as witnessing an image through the naked eye. You see, the modern camera is a complex piece of kit, but it still struggles to cope with dramatic variations in light.
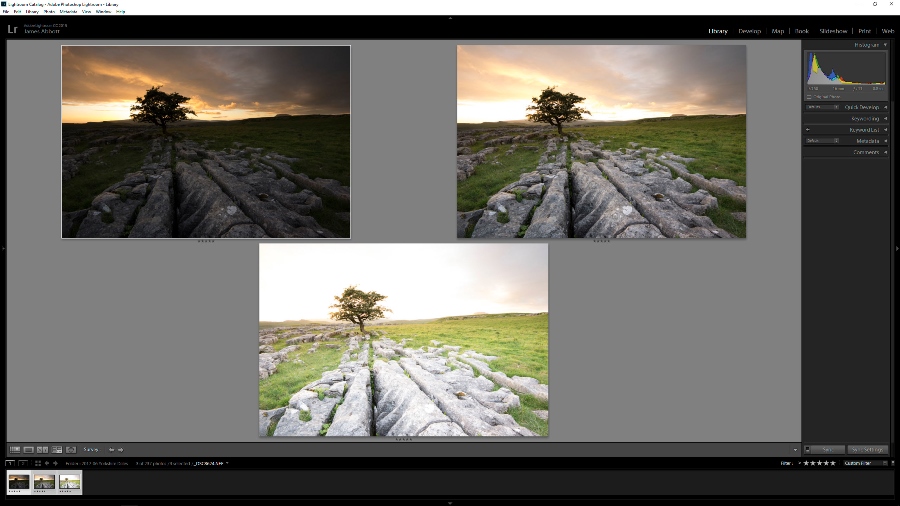
For example, photograph a landscape on a sunny day and you’ll struggle to maintain detail; expose for the darker ground and the bright sky will appear overexposed, expose for the sky and the ground will appear underexposed. The HDR technique serves to remedy this by stitching multiple exposures of the same scene together, thus increasing detail. To do this, you need to shoot a minimum of three images: One that correctly exposes the mid-tones, one that’s underexposed by two stops and one that’s overexposed by two stops.
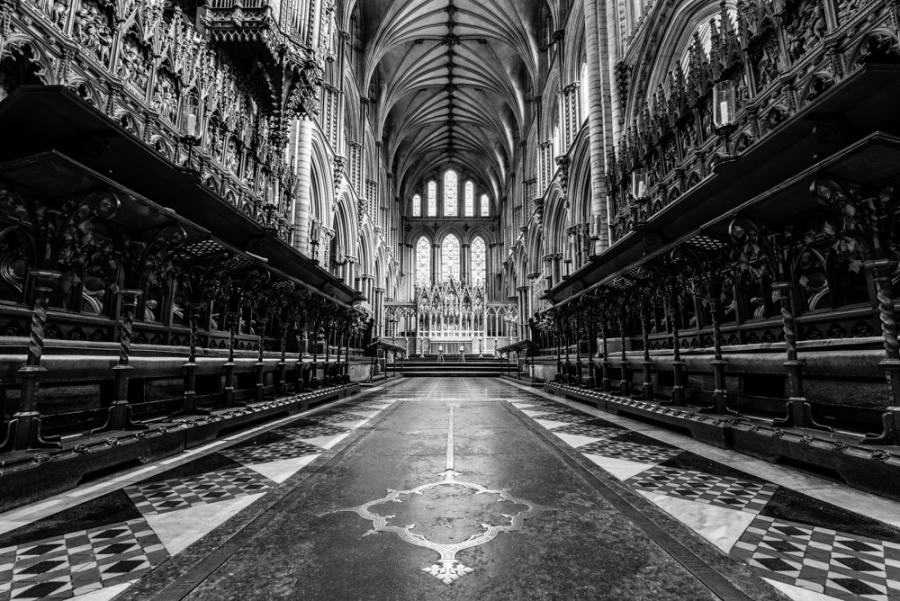
To ensure success during post-processing, each image has to be identical —a tripod is essential. Focus, depth of field and noise must remain constant across each set of images, the only variable being shutter-speed. Let’s take a look at how it’s done…
How to shoot a HDR landscape
1. Focus the image
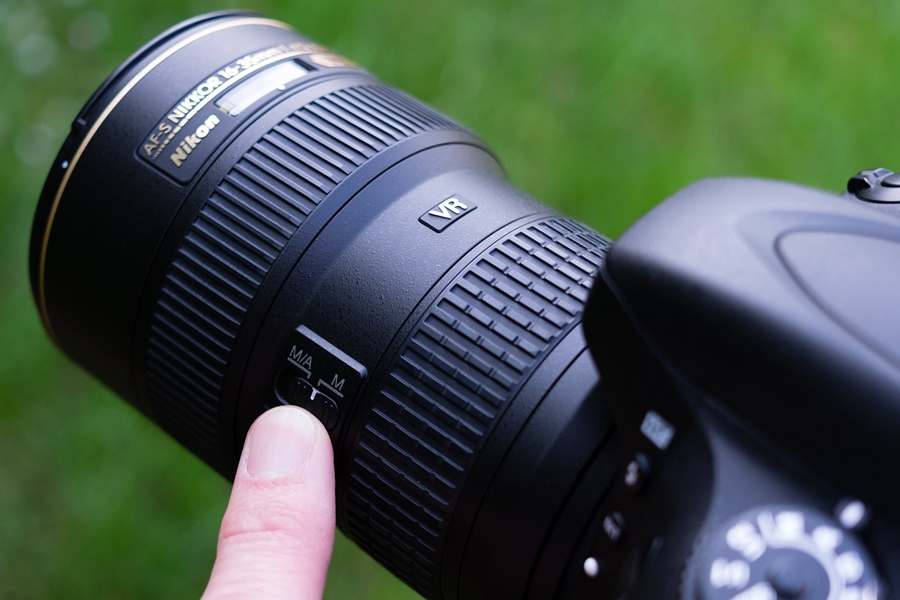
Use your preferred method to focus your shot, whether that’s manually, using autofocus or live view. Focusing 1/3 of the distance between the most prominent object in the foreground and the horizon will generally provide front-to-back sharpness. If you’re using autofocus (and once focused), set the lens to manual focus to lock the lens in position.
2. Find the correct exposure
Select aperture priority mode and ensure you’re shooting RAW. Starting on f/11 and ISO 100, take a test shot and assess the image. You’re aiming for a shot that’s well-exposed for mid-tones — adjust using exposure compensation if needed.
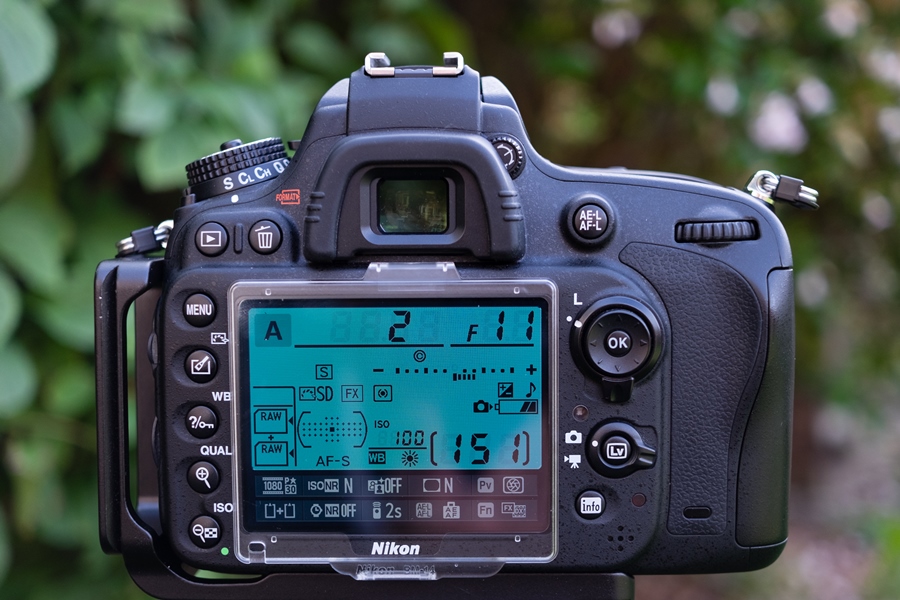
3. Bracketing
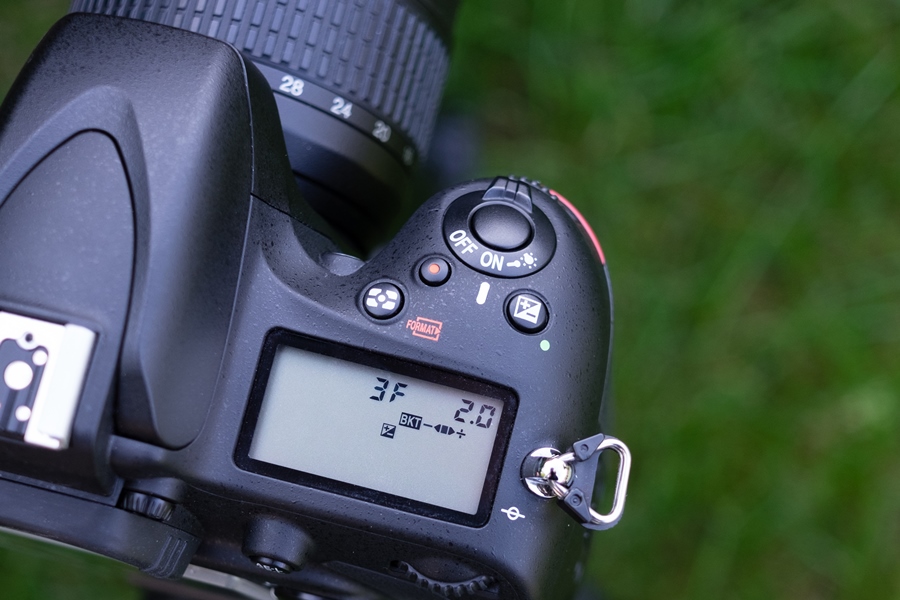
Of the two remaining exposures, one needs to be two stops above the exposure you’ve just set, and the other, two stops below. The easiest way to do this is to use auto exposure bracketing. This function is available on most cameras, allowing you to set how many shots you want to take, and how many stops apart they’ll be. If your camera doesn’t include the bracketing function, you’ll need to manually adjust the exposure of each shot, using exposure compensation.
4. Take the shot
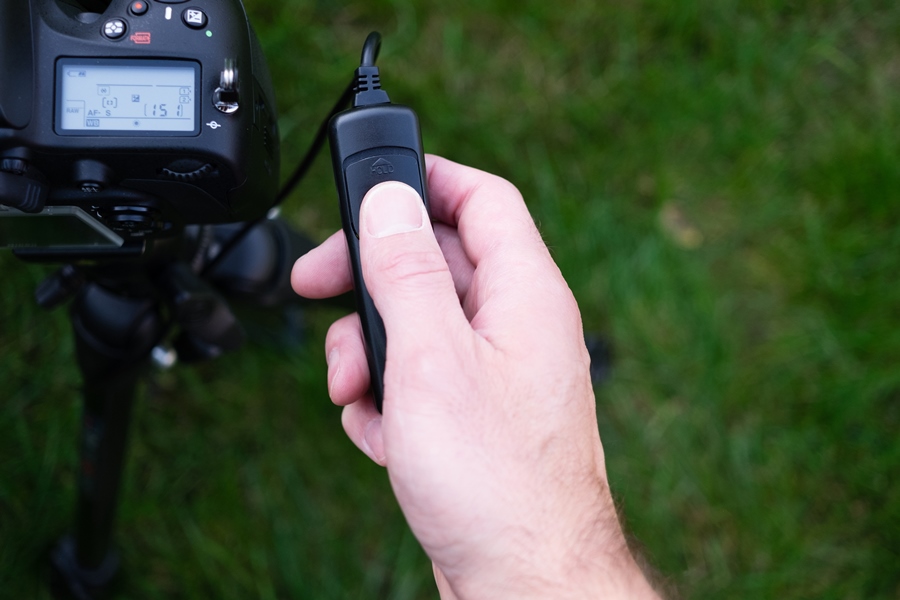
You’ll want to avoid camera shake, especially when shooting a longer exposure — a remote shutter release or your camera’s self-timer should minimise unwanted movement, caused by pressing the shutter button.
Create HDR images in Lightroom
There are a number of software options available for producing HDR images. The best are dedicated programs, used purely for this type of photography. I’ve opted to use Adobe Lightroom CC, simply because it’s the software that most photographers will have access to.
That said, if you’re looking for the best HDR software, I’d recommend Aurora HDR 2018. Not only is it easy to use, but the results are so subtle, even the keenest eye would struggle to identify the HDR technique. If you’re looking for a more extreme HDR look, then Photomatix Pro 6 might be the way to go. Both programs offer free trials, so see which one works best for you.
1. Upload and select your images
Having uploaded your images to Lightroom, identify the HDR exposures you want to use by giving them a five star rating (select an image and press the five key on your keyboard). Now, select the Filter dropdown menu in the bottom right-hand corner of your screen and select Rated. Left of this option you’ll notice a collection of stars, click on the fifth and final star and they’ll illuminate, showing only five star rated images in the current folder.
2. Set the Merge options
Select all three exposures you intend to edit and right click. In the menu that opens, hover over Photo Merge and select HDR. Ensure that Auto Align and Auto Tone are checked in the HDR Options of the preview window. Next, set Deghost Amount to the most effective setting and select Merge.
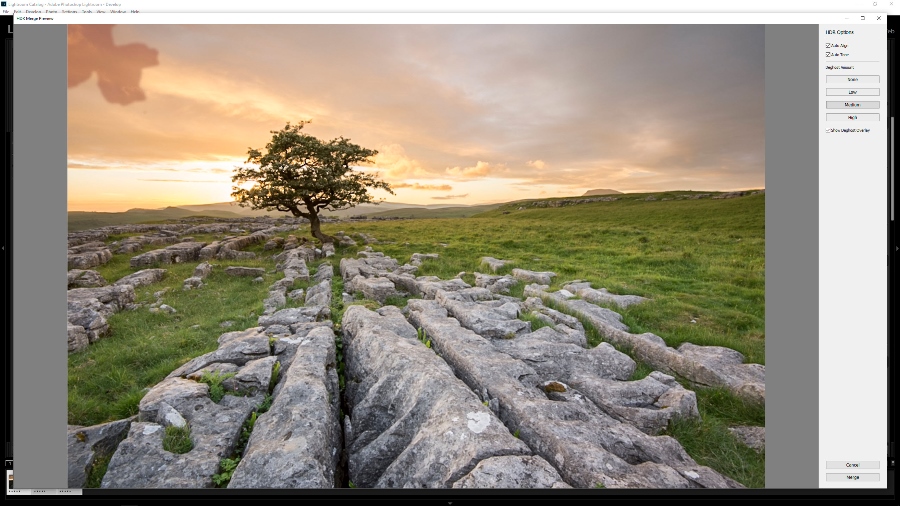
3. Make image adjustments
You’ll now be left with a DNG image file and a large amount of image data. The photograph will have some basic settings applied, which acts as a great starting point that can be adjusted as required. The exposure is often too bright, so you might need to add contrast. Once you’re happy, simply export the image as a TIFF or JPEG.
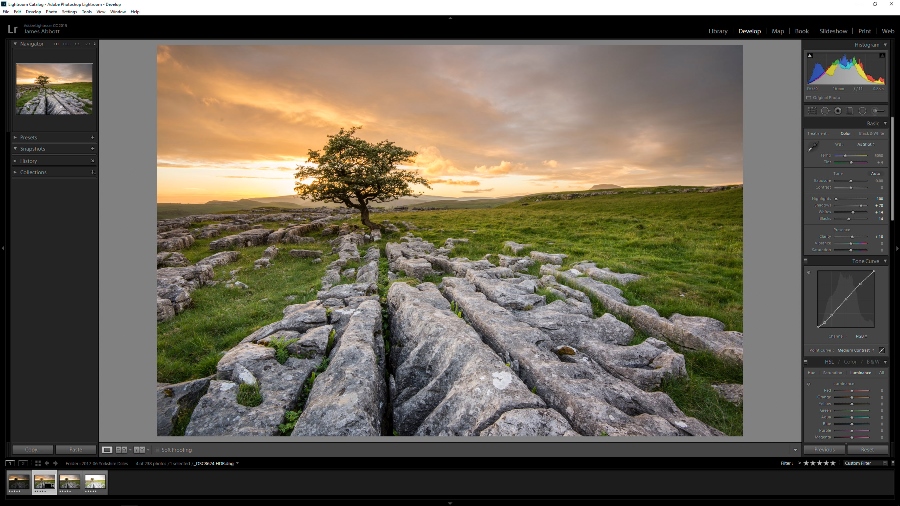
There you have it, a natural looking HDR photograph. If you’re an avid HDR photographer, perhaps your images would benefit from a lighter touch. If you’ve long avoided the polarising technique, then perhaps it’s worth a revisit. High dynamic range photography doesn’t have to look contrived. In fact, there’s no reason why it can’t look both stunning and natural.
Related articles
How to Shoot Moody Landscapes Using Filters
Six Tips for Serious Smartphone Photographers
How to Photograph the Orionids Meteor Shower


