With close-up work it’s all about the details, meaning you need to pay extra-close attention to the lighting. Giles Babbidge runs through the best lighting kits and accessories to use.
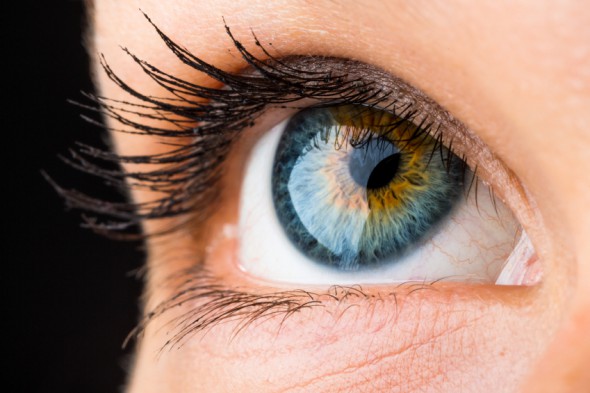
The matter of lighting any photograph is a very broad one. There are always going to be many factors involved – not least the peculiarities of certain subjects, the logistics of creating the desired effect and, of course, our own technical preferences. The way we light a group portrait, for example, is very different to how we might tackle a close-up of a flower. That said, certain ‘big set’ techniques can often be adapted to work on the smaller scale.
Thankfully, there are now so many products on the market that there is bound to be a perfect lighting setup for you. Below, I’m going to highlight a number of options that you might like to consider when dealing with the macro world.
Reflectors
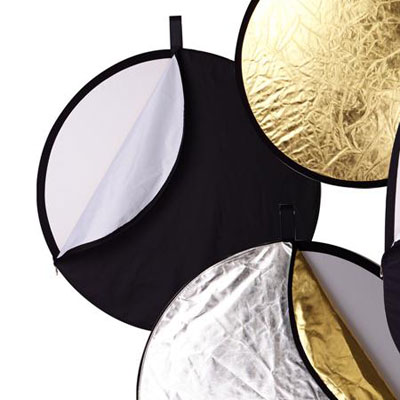
One of the easiest ways to light your subject is by using existing illumination. If you’re outdoors during the day or next to a large window, there should be plenty to work with. Even in overcast conditions, you’d be surprised at just how much light will be striking your subject – just experiment with slightly longer exposures, being careful to avoid camera shake (and subject movement, if this is not desirable).
Reflectors are a great way to make the most of ambient light. They can be set up in various ways to bounce additional brightness into shadow areas, increase or reduce contrast, and accentuate texture. The colour of light they reflect can also be tailored to your subject – for example, a gold panel will add a warm glow, while pure white will deliver a neutral effect. Reflectors are available in various sizes, some of which are especially designed with portability in mind and are easily slipped into a backpack.
Also worth considering is a black absorption panel (an anti-reflector, if you like), which is perfect for reducing unwanted reflections, hot-spots and highlights, as well as creating shade.
Flash
The beauty of using one or more flashguns to light pictures is that, as a light source, they are completely user-controllable. Whether you go ‘bare bulb’ (i.e. don’t use any modifiers) or choose to manipulate output via softboxes, diffusers etc., all manner of effects can be produced – giving results that can look anywhere between completely natural and obviously artificial.
For a long time, one of the most popular flash techniques for anyone wishing to combine it with daylight has been what we call ‘fill-in’ or ‘fill flash’. This is where a flashgun is used to throw just a small, complimentary amount of light into a picture, often at a lower output (brightness) than the existing light. Conversely, you can also take things the other way, using your flash to overpower the ambient light, in which case the background can be reduced to complete darkness if you so wish. Just be aware that doing the latter can produce a look that is very unnatural for certain subjects.
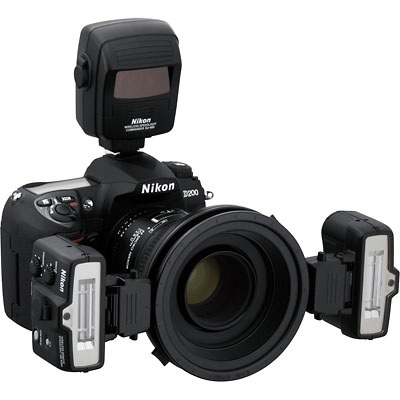
If you are serious about your close-up photography and fancy investing in dedicated lighting gear, a twin-flash setup could be the answer you’re looking for. Both Nikon and Canon offer kits featuring two small flashes mounted at the side of the lens via an attachment ring. These systems take advantage of their wireless triggering systems and offer full TTL (through-the-lens) exposure calculation.
LED lights
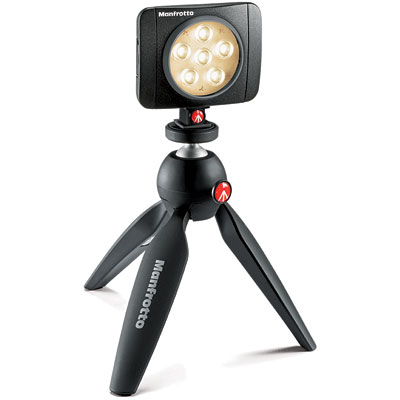
For anyone not wishing to take the flash route, LED panels and rings (such as those available from Manfrotto and Interfit) are a convenient way to introduce controlled, continuous light into a picture. Being ‘always on’, they have the added advantage that you can see exactly how the light is falling – and what effect it is having – even before releasing the shutter.
LED panels come in various shapes and sizes. Just remember when choosing that the larger the light source, or the closer it is to the subject, the softer and more diffused the light it produces will be.
Softboxes and light tents
As you can probably tell by now, the ability to shape light to fit your requirements is a central theme with close-up photography. Attention to detail and precision placement are the order of the day, not just the type of lighting you choose to employ.
I have already alluded to softboxes. These also come in all manner of shapes and sizes, and offer the advantage of being both convenient and portable. Flashguns can be fired through them for a softer quality of light and, depending on the manufacturer, some softboxes come supplied with multiple internal diffusers. This opens up even more creative possibilities.
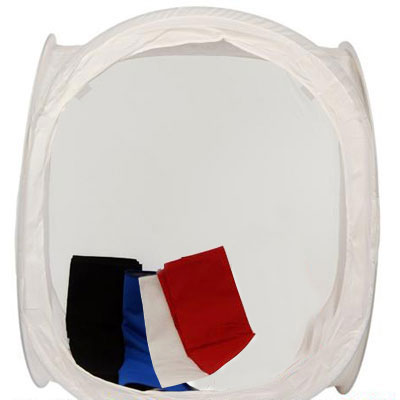
Light tents are great for still-life studies and product shots. Available in various sizes, they are cubes made of white material into which you place your subject. Your camera pokes through an opening in the front and your light source is then fired through the material, giving a near shadow-free, diffused effect. Perhaps the greatest advantage of using a light tent is that distracting reflections are removed – ideal if you are photographing jewellery, ornaments or other highly-reflective items.
A combination of the above!
The methods listed here are by no means comprehensive – rather, they are a suggestion of some ways in which you can create the perfect lighting arrangement for your close-up subject. There are no hard-and-fast rules, and besides, rules are made to be broken! On any given day, you may well find that the lighting setup you thought would be perfect is actually not the most suitable after all. Alternatively, perhaps by trial and error or happy accident, a better option which you hadn’t even considered might present itself.
For example, say you wanted to capture an abstract image of the veins on a leaf whilst outside on a breezy day – a great way to do this (and intensify the colour at the same time) would be to backlight that leaf. Here, the use of daylight would be fine if it was bright enough; if not, you’d be in danger of compromising image sharpness by having to increase your camera’s ISO in order to freeze any movement. Given the breeze, flash might therefore be the best option, thanks to its ability to freeze movement. You would also get the added bonus of increased crispness in the shot. Also, because you would likely be using a small aperture in order to control such a powerful burst of light at such a close distance, a larger depth of field would result – always a good thing for front-to-back sharpness!
Seeing the world in close-up is an endlessly fascinating area of photography and certain kit combined with certain techniques work better for some subjects than for others. At the end of the day, remember to have fun with your lighting – experiment and try plenty of combinations in order to find what works for you.
About the Author
Giles Babbidge is a commercial and editorial photographer based in Hampshire. He travels all around the UK and works with a wide range of clients – you can find out more about his day-to-day activities over at his website.


