Callum McInerney-Riley explains how to transform your macro images by adding artificial light
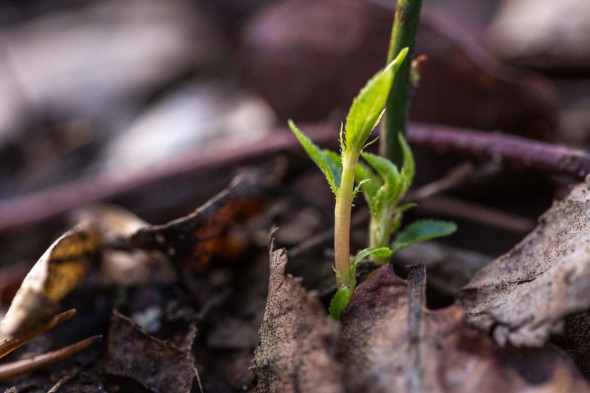
A little lighting can transform your macro shots. All images by Callum McInerney-Riley
Technically speaking, macro is one of the most challenging disciplines of photography. It’s even more difficult when shooting exclusively with ambient light, as many photographers do. Even for an experienced photographer, juggling the exposure can be a bit of a nightmare, and you tend to compromise on aspects of the image in order to get the shot.
If you’re shooting outdoor subjects, you’re likely to experience movement – insects like to fidget their way out of your plane of focus, and flowers love nothing more than blurring the instant there’s even a light breeze.
Getting the right shutter speed in these situations can therefore often be a struggle. One solution is to compensate with a wider aperture or a higher ISO. With a macro lens, a wide aperture can often mean your depth of field is a bit too shallow, especially if you’re shooting with a long lens. A higher ISO isn’t always a bad thing, but if it’s too high, your image will start to become grainy and lose detail.
On some occasions, the light is just perfect – everything is sharp where you want it to be and the lighting is fantastic on both the subject and the background. While this does happen, it’s rare.
So, what’s the ideal solution in sub-par lighting conditions? Simple – it’s to create your own light. By subtly adding in light from a flash or an LED torch, you can carefully craft the perfect exposure.
With this technique, you can first capture an exposure with the ambient light, making the textures and the background look fantastic. Once that’s perfected, you can then accent the main subject with your add-in light. This will ensure you overcome all the issues above and draw focus to the exact spot required. The result should be a detailed, well exposed picture from foreground to background.
Let’s go through how to achieve this.
The kit you need
The first thing you’re going to need is a camera that can shoot macro. Most compact cameras have a macro setting that allows you to get close to your subjects while interchangeable lens cameras will need a macro lens. Although I’d recommend a macro lens for the best results, you can get away with any lens that has a reasonably close focusing distance – on plenty of occasions I’ve shot macro images with a telephoto lens when that’s all I had in my bag.
Now that camera kit is covered, let’s talk lights! A huge advantage of shooting small subjects is that you can get away with very basic lighting and still achieve incredible shots. It’s not like a group portrait that needs an enormous studio head and an octobank to shoot – you can literally scale down to an LED torch if you want to. Let’s cover off a few of the options:
Continuous lights:
I love using continuous lighting! So much so that even when my friends are Instagramming something and it’s a bit dark, I’ll use it as an excuse to activate the torch on my phone and give them a little bit of light to help the situation. It’s dead simple to use, and everyone should have access continuous lighting of some kind.
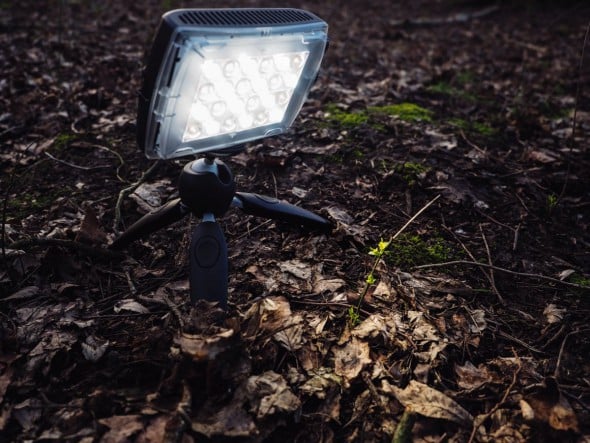
Probably the most expensive option, an LED panel is really useful for macro photography. You can control how much light hits the subject, and on the more expensive lights you can even change the colour temperature, either to match the ambient light or to contrast with it for artistic effects.
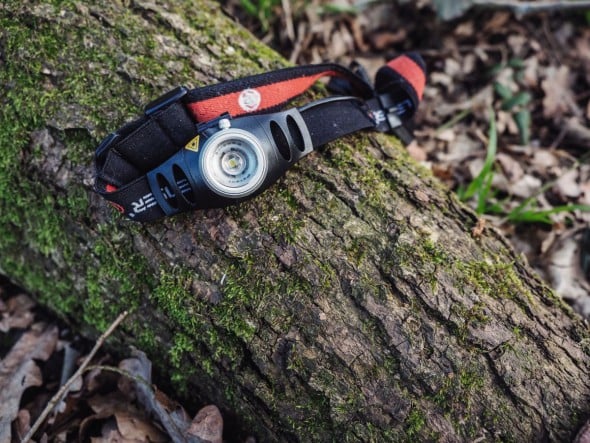
Torches are also really useful light sources. Some can be a bit harsh when positioned close up, but their light can be diffused with a light piece of white paper, or even a light white cloth. I have a head torch for light painting, which has a brightness control and beam control and is perfect for macro, but any type of torch can be used.
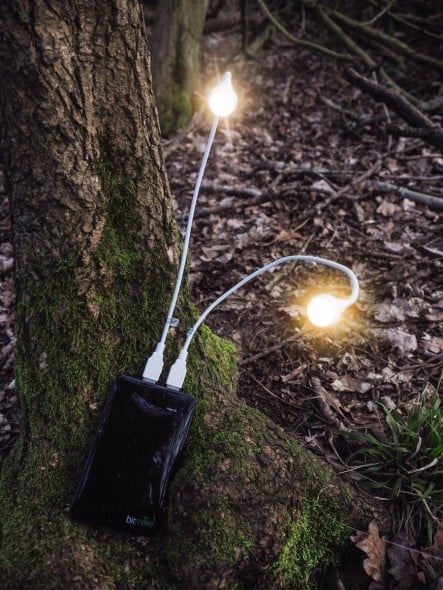
The easiest option is using the torch light built into most smartphones. Annoyingly, some don’t have a light but digging around in the settings, you’ll find most phones do. These lights offer a decent brightness and give you a widespread, soft light. Useful in a pinch.
Flash:
Due to the subject being so close to the lens in macro photography, using a flash is somewhat tricky. The light from a hotshoe-mounted or pop-up flash will often be obstructed by the lens, leading to awful results. However, by using a macro ring light or an off-camera flash, you can get some fantastic shots.
To shoot with off-camera flash, you’ll need a remote trigger system or a remote flash cord. I use various Phottix remote systems with my Canon kit, and the Cactus V6 triggers with my Olympus OM-D system.
One of the key benefits of using flash is you have control over the power output, allowing you to adjust light levels to refine the exposure. Also, flashes have a bunch of modifiers available, so crafting a specific type of light is much easier. For most of my macro photography I use a small softbox such as the Lastolite Ezybox Speed-Lite 2.
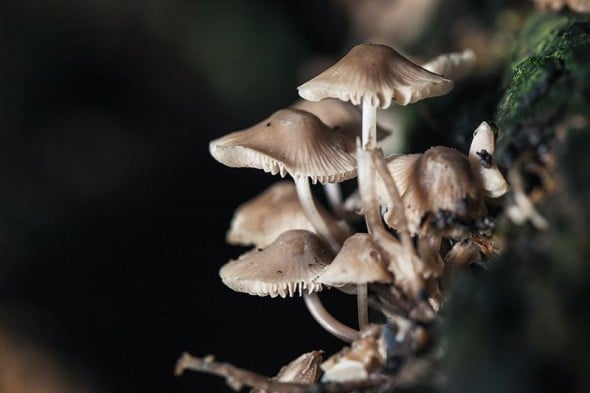
An image lit with flash
Getting started
First things first – you’ve got to find a decent subject to photograph. I like to take the dog for a stroll through the woods armed with my camera gear, taking a keen interest on what is lying on the forest floor or growing from the fallen trees. Insects, fungi and plants are always on the top of my list, but you can shoot anything that takes your fancy.
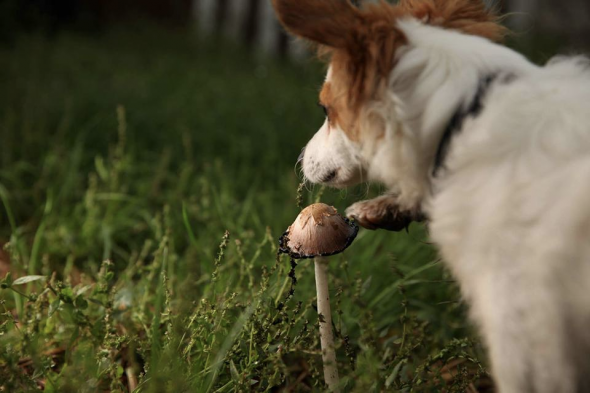
Sometimes the dog also takes a keen interest in the fungi, especially when she’s not getting all the attention.
Once you’ve found your subject, it’s worth taking a few test pictures to get a rough idea of what framing and composition works best. At this early stage it doesn’t matter if the main subject is underexposed: the most important part is getting the scene to look good. I often shoot into the light and expose my ambient shot a couple of stops lower than usual.
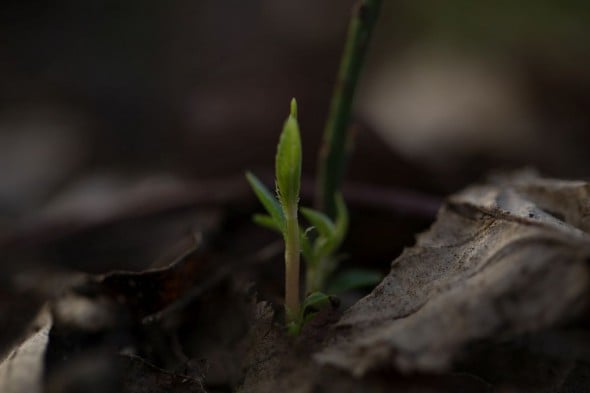
A rough exposure, testing the scene
Next comes the fun part – time to add in some light!
With your camera in position, experiment with how things look. There are no hard and fast rules to this, as every subject and every lighting situation is different. I usually start by lighting the subject from 15-30cm away, pointing the light down, but this part offers complete creative freedom so don’t feel restricted. Experiment with softening the light, moving it closer and further way, adjusting its positioning until you get a look that you think works. Some subjects look amazing when they’re lit from directly above, some will need a lot of light to fill in – especially when shooting into the sun.
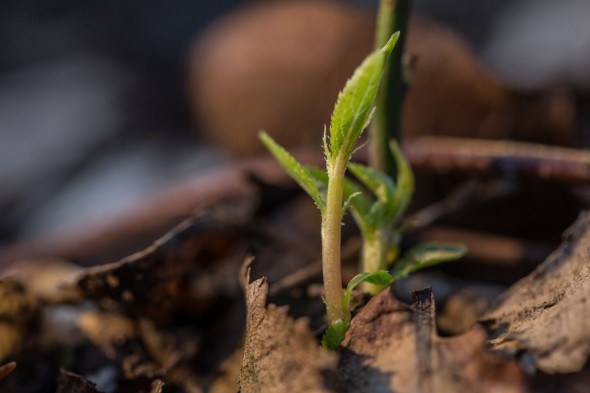
Continuous light helps warm this image up
Just have fun with it!
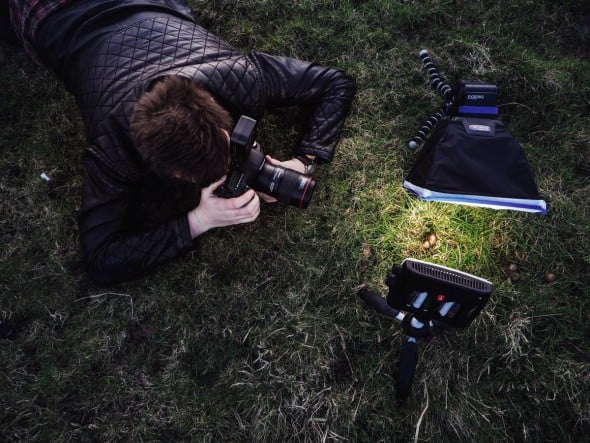
Setting up these lights allows much more creative freedom when shooting these fungi
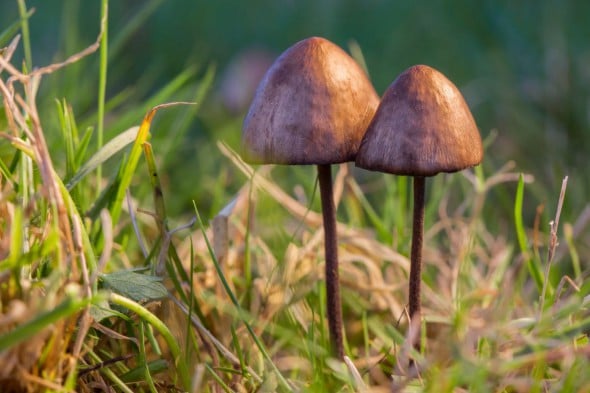
Result – a scene transformed
Top tips
Get the ambient light right
Even though you are shooting with your own light, it’s just as important to try to get the ambient light right too. Look for interesting places with nice light to start with. The ambient light is your foundation, so shooting the first hour after sunrise of the hour before sunset is, as always, a good start. The best advice is just to look around – in the tiny world of macro, beautiful light can present itself practically anywhere.
Second pair of hands
Holding a light and a camera and then taking a picture is a juggling act. Think about making it a bit simpler for yourself. Find a little stand for your light, pack a small tripod, or bring someone along with you for the adventure.
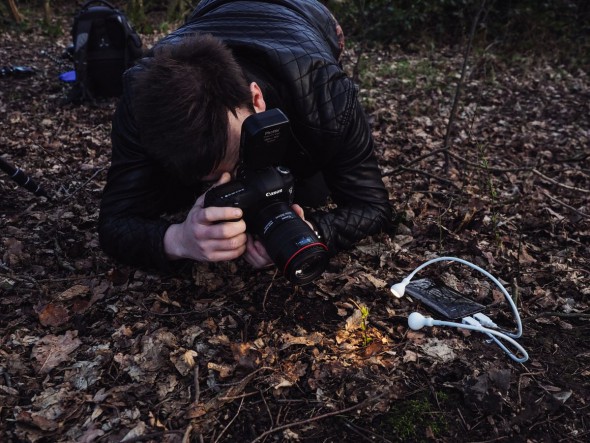
Self-standing lights leave you free to hold your camera
Play with coloured lights
When shooting with LED light panels, I’m always changing the colour temperature to warm up or cool down the look of the light. The same technique can be applied to flashes and to most continuous light sources.
Multiple lights
If you’ve got everything in position, you can add in more lights if needed. A warm, gelled light from behind can give you that evening-sunshine look, and illuminating the background can help marry it with the subject.
Get creative
Once you’ve got this technique down you can start getting creative. You can try shooting a long exposure, blending different exposure times and even light-painting your subjects. One thing I love to do is shoot a completely out of focus image and paint the bokehlicious background back in using Photoshop.
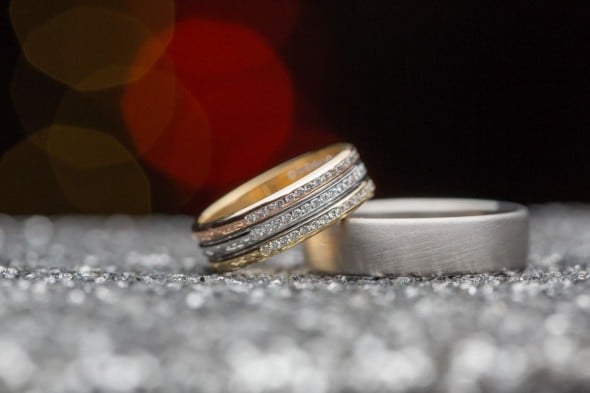
These techniques aren't just for outdoor subjects – put them to use in any macro work!
About the Photographer
Callum McInerney-Riley is a freelance photographer and former technical writer for Amateur Photographer magazine. Follow him on Twitter at @CMRileyPhoto
Related articles
Behind the Image: Zebra Jumping Spider, by Matt Doogue
Creating Oil-Based Abstract Images
Essential Lighting Modifiers


