Mark Rose from Global Fire Creative explains how to set up and film using a green screen
Mark Rose from Global Fire Creative explains how to set up and film using a green screen. He also discusses the process of chroma key compositing in Adobe After Effects, and runs through lighting and camera/codec choices too. Although green screens are nothing new, they've been used in the film industry since the 1940s (often blue screens back then). And yet, this Hollywood effect is surprisingly simple to replicate.
Key points for filming with a green screen:
- Make sure the green screen is as evenly lit as possible.
- Light the subject to match the end composited background.
- Try and position your subject as far away from the green screen as possible to help reduce green spill on their skin.
- Try and capture as much information as possible in camera by recording in at least 10-bit 422 if you can.
Mark’s post-production workflow in After Effects:
- Change the composition background to magenta, since it’s the opposite of green it will help show any areas the keying has missed.
- Apply the ‘Color Key’ effect and increase the tolerance to as far as it can go before it starts to key the subject. Additional ‘Colour Key’ effects can be used if there are areas of the green screen that hasn’t been removed from the initial effect.
- Add the ‘Simple Chocker’ effect and reduce the ‘Chocke Matte’ so that an even green outline is now visible around the subject.
- Apply the ‘KeyLight’ effect and select a green pixel closest to the subject. Use the ‘Screen Matte’ view to help fine-tune the ‘Screen Matte’ parameters.
- Add the ‘Advanced Spill Suppressor’ effect to alleviate any green spill on the subject.
- Add the background to the composition and apply your overall colour grade.

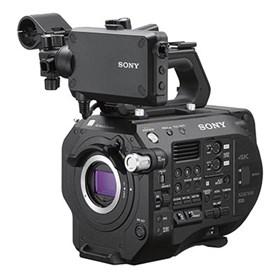
Sony PXW-FS7 4K Camcorder

Sony PXW-FS7 II 4K Professional Camcorder with 18-110mm F4 Servo Zoom G OSS Lens


