Get started with light painting without emptying your wallet – Claire shows you how
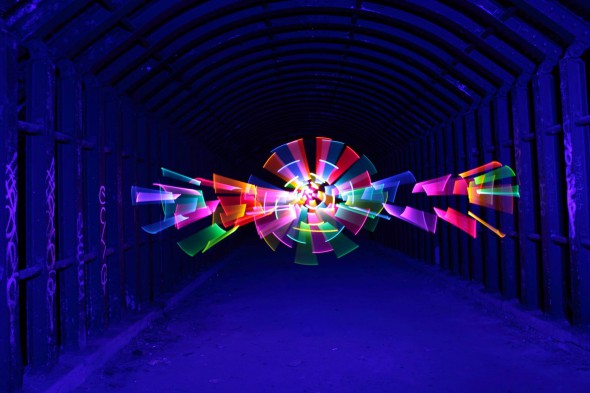
My mother always told me I had a vivid imagination and that I was arty, which may be the two reasons I enjoy light painting so much. However, this doesn’t mean I want to have to spend a small fortune on expensive light painting equipment to do it with. I’ve been exceptionally lucky to have been taught by some very talented light painters, who have given me lots of tips and tricks that can be used as equivalents to some of the more expensive light painting tools. For this article, I’m going to pass these on.
Get started
Camera equipment:
- Camera (preferably a DSLR) which has the ‘Bulb’ mode function in its shutter speed settings
- Tripod
- Shutter release
Camera settings:
The settings I use most for light painting would be Bulb mode, f/9, ISO 200. It does depend on if there is much light pollution and how long the light painting will take you – if, for example, I’m doing a shot that will take me only about 20-30 seconds and it’s completely dark, I might go for f/5.6 and ISO 200. Start with the three settings I gave above, and adjust where necessary.
Focusing your camera in the dark:
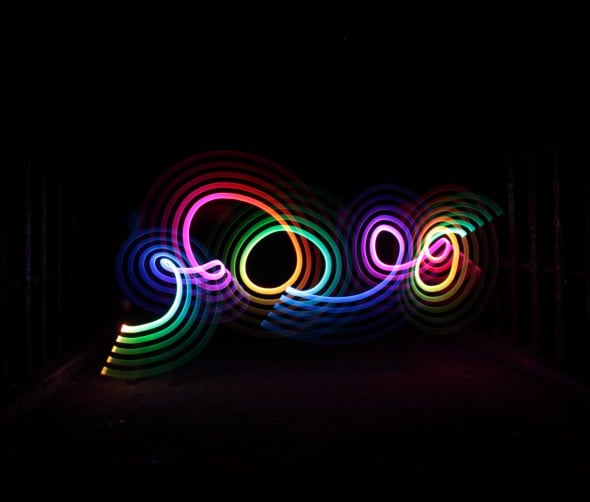
Getting focused in the dark can be difficult. The easiest way I have found is to get someone to stand in the centre of the scene and shine a torch back on themselves. Get them sharp with the autofocus, and then switch the lens back to manual once focused. At this point I normally place a silver coin on the floor to mark the spot focused on. There should be no need to re-focus again between shots unless you move your camera.
Torches:
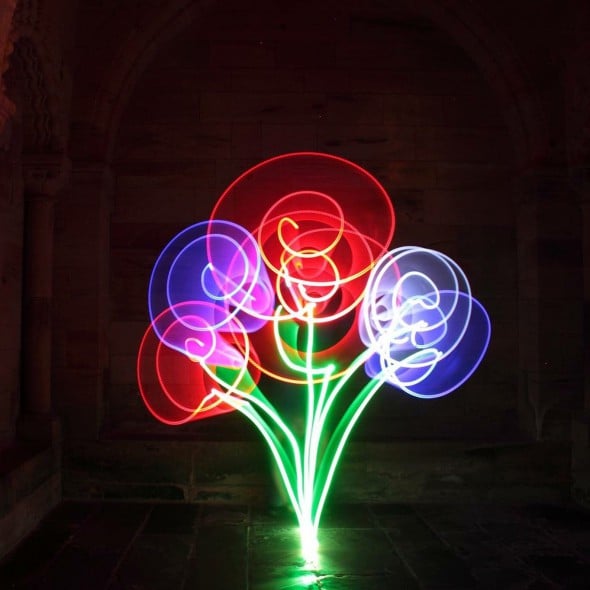
Torches are the most important tool to a light painter. If you have a camera and a torch, you can light paint. Torches of different sizes, colours and strobe speeds can have different effects, you can add filters and acrylic rods to make “light wands” – the possibilities are practically endless. You can never have too many torches!
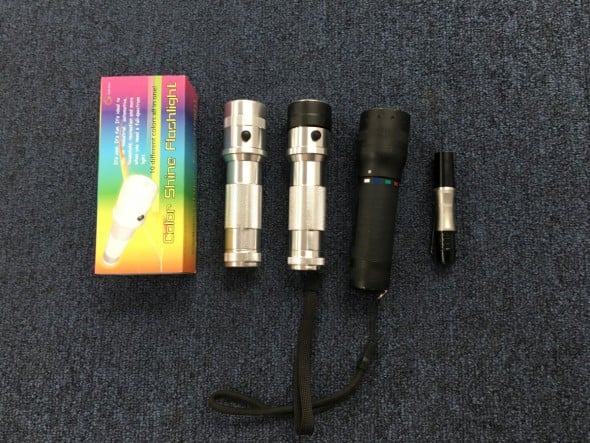
I have a little collection of torches, ranging from the LED Lenser P7QC, approximately £65, to a ten-colour changing torch from eBay which cost me £20 (and I use this cheap eBay torch the most). I even use a cheap £1 keyring light – it’s brilliant for light writing.
I do like the Lenser for lighting backgrounds, but I prefer the cheap eBay torch for actual light painting.
Light writing and drawing:
Since I was a kid I enjoyed experimenting with writing with light – as is no doubt the case with most people, my first experience doing so was as a child, waving sparklers on Bonfire Night. The principles are pretty much the same.
There are some expensive “light pens” on the market, but essentially all they are (and all you actually need) is a small torch! A small torch which is easy to turn on and off will work best, with even a small cheap keyring light working well. What you don’t want is a big, bright torch which will burn out your pictures – the smaller the torch, the better. LED Finger lights also work quite well, a set of four will cost you approximately £4.
Stand facing the camera, ensuring you have enough space. As I mentioned earlier, silver coins on the floor can make useful markers to ensure you get all your drawing / writing in shot, Once your shutter is open you can make a start, ensuring your torch or light source keeps facing the camera.
Quick Tip #1: Multi-coloured writing and drawing can look really effective. If you don’t have a coloured torch then try using coloured filters, which don’t have to be expensive – Quality Street cellophane wrappers and an elastic band will convert a white light torch to a coloured torch.
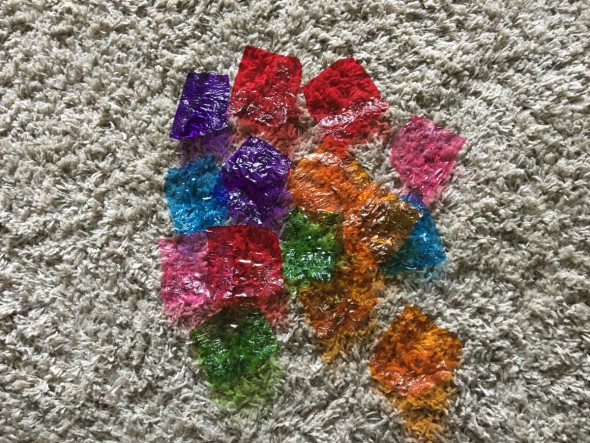
Stick one of these over your torch and you’ve got a coloured light. Easy, cheap and effective!
Quick Tip #2: Use the on/off button between letters, and take your time.
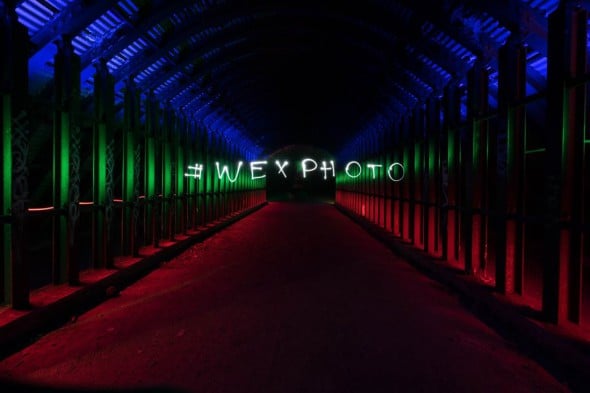
Quick Tip #3: When writing, remember to write backwards or you will need to flip your photo horizontally.
Attachments you can make for your torches
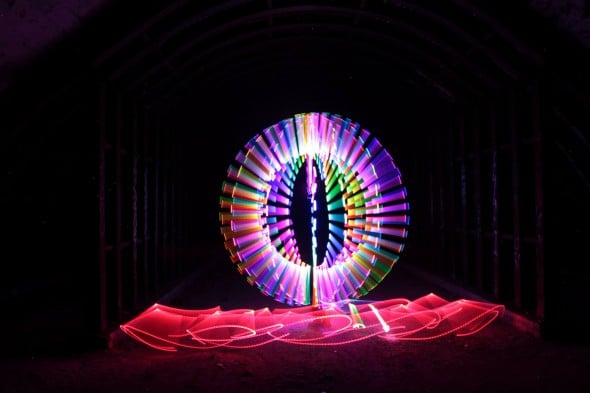
Light Wand (equivalent to the Lenser V24):
Possibly the best attachment you can make for a torch, and without a doubt my most used bit of kit! With the right colour torch and an acrylic rod, you should not be able to tell the difference compared to the Lenser V24. Acrylic rod can be purchased really cheaply on the internet (I use Hindleys 16mm rod with inner lines (the lines help the light travel down the rod) at £2.60 for a 500mm length, excluding delivery). Even without a colour torch, a normal bright white torch gives fantastic simple lines.
The cheapest and best way to attach the rod to your torch is to get a 3D printed adaptor (my local 3D printers will do the exact measurements to fit a torch for £1 each), or adaptors can be made from pretty much anything. You could use the tube your acrylic rod came in with some tape and packing foam, or I’ve even made one with a plastic pipe reducer and superglue, which I still use a lot today.
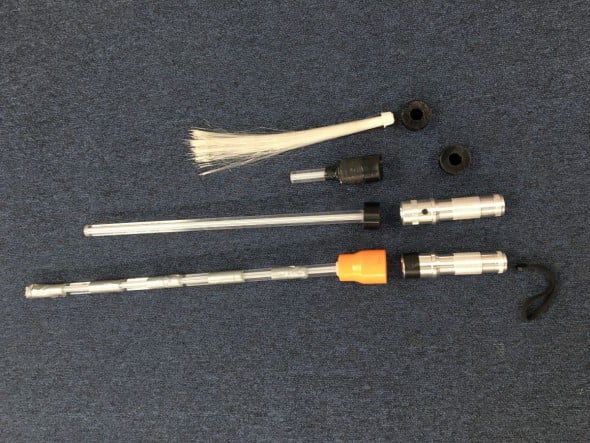
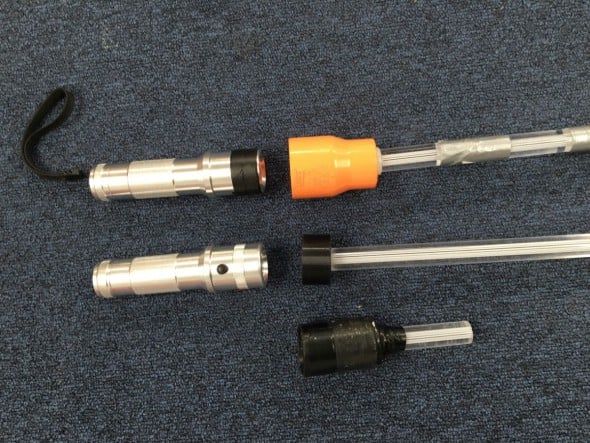
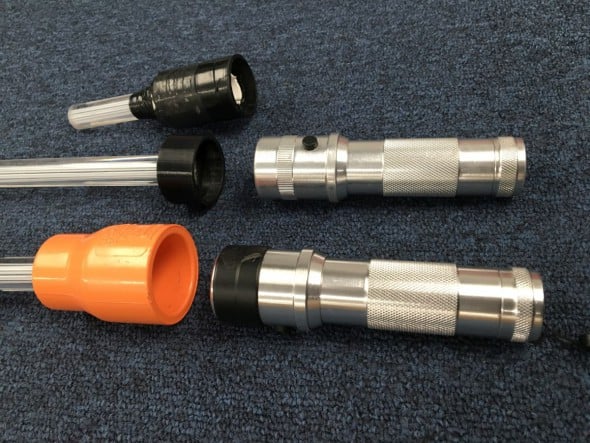
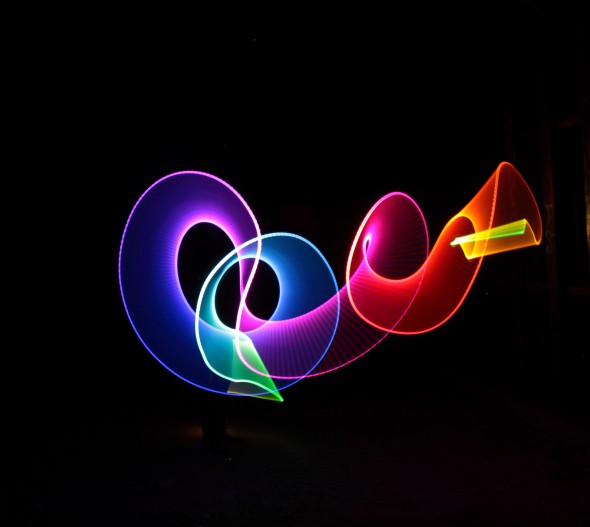
With your rod attached to your torch, and your camera set up on its tripod, you’re ready to go. Open your shutter and experiment! Swirl your light wand around and see what patterns you get. I like to use the light wand for simple patterns, and it’s very effective when used behind people or cars.
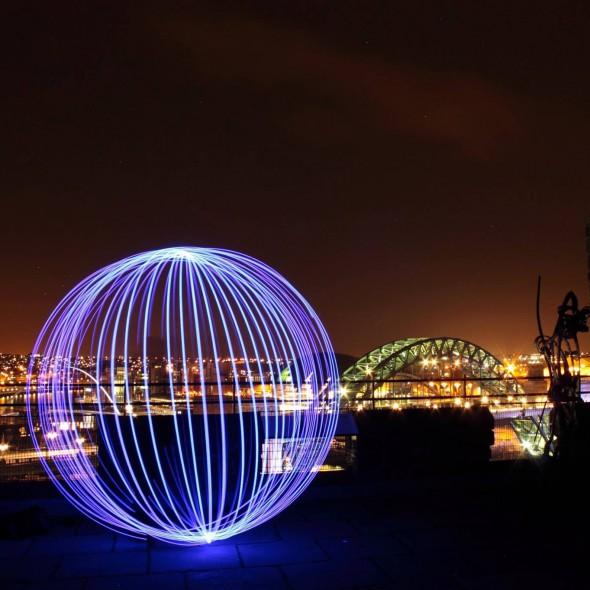
Orbs are quite simple to do with a light wand. Start with your back to the camera, and with simple up-and-down arm movements, move around in a full circle, ensuring your arms stay as rigid as possible. Keep moving up and down, as straight as you can, finishing with your back to the camera once again. With orbs, practice does make perfect, and don’t be scared to experiment! I find the silver coin as a marker on the floor helps to keep orbs round and ensure I don’t move off the spot I started at. If you find your feet are showing in your pictures, a quick ‘waft’ round the floor with your light wand will add an extra effect and remove your from the picture.
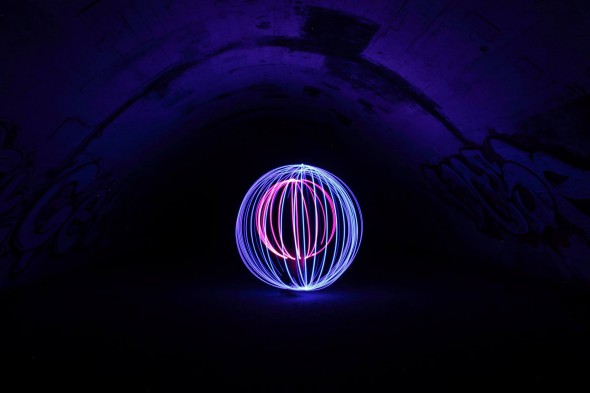
You can adapt your light wand by wrapping electrical or duct tape around the rod to black out sections, making light ‘stripes’. Strobe mode on a torch can also have some interesting effects. It’s all about experimentation.
Quick Tip #4: If you’re using a model in your pictures and don’t want them as silhouettes, either a flash with a flashgun or a few seconds with a bright torch should lighten them up enough. Although giving them a quick warning that you will be throwing a bright light or flash directly at them is advisable, to help prevent movement and blur.
Lightbrush:
Lightpainting brushes can be expensive, but a cheap and simple alternative is to use fibre optic strands. Fibre optic lamps, which can be bought really cheaply online, are perfect for the job (ensuring they are battery operated). Mine cost me a whole 99p including delivery.
The cheapest ones come in separate parts, which is ideal! I actually hold the fibre option part onto my torch; once again I have a 3D adaptor for this, but prior to this I would just hold mine in place. These fibre optic brushes can make some very interesting effects. If you don’t have a colour torch, battery-operated lamps are perfect to use handheld without a torch, and most come with multi coloured LEDs.
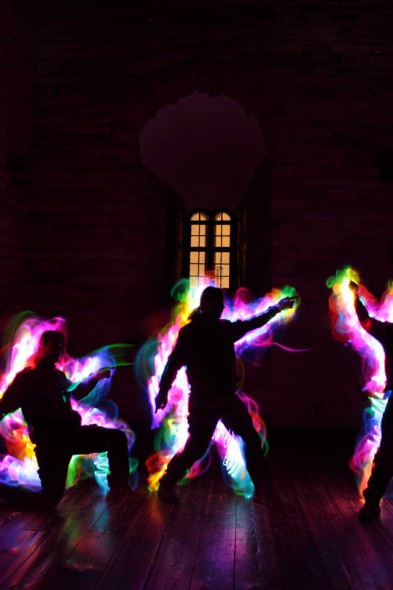
Quick Tip #5: Stand behind what you want to light up, whether person or object, and make quick movements, wafting the lightbrush (fibre optic) around the edges you want to light paint. This will silhouette people or objects and can create the illusion of fire and smoke.
Quick Tip #6: When light painting, wear black or dark clothing, as this helps prevent you from showing up in your pictures.
The most important part of light painting is having fun and sharing your creations. There are no rights and no wrongs with light painting, just interesting pictures! Please tweet your light painting experiments to @WexTweets and myself @claireharpz using the #wexphoto #wexlightpainting hashtags. We would love to see your results!

About the Author
Claire Harper is a photographer, tour guide and light painter. Follow her on Twitter @ClaireHarpz